Assembling a pergola kit isn’t rocket science—but it’s also not the kind of thing you want to “wing.” The goal is to end up with a solid, level, and beautiful structure that looks like it was installed by a pro. Whether you’re in Davis County or down in Utah County, the right approach saves frustration, keeps things square, and ensures your pergola stays standing through wind, rain, and that blinding summer sun.
1. Read Everything Before You Touch a Tool
You’d be surprised how many people skip the instructions, only to realize halfway through that two boards got swapped. Don’t be that person. Take a half hour to read through the guide that comes with your pergola kit—most are designed to be straightforward if you follow the sequence. A cup of coffee, a pen for notes, and a quick scan of all the parts go a long way toward preventing “where does this piece go?” moments.
2. Clear and Level the Ground First
If the base isn’t level, the rest of the structure won’t be either. That’s just gravity doing its job. Whether you’re building on a concrete patio, pavers, or soil, take the time to measure the slope. A long level or laser level helps you see if adjustments are needed before you start anchoring posts. It’s a little boring but worth every second.
3. Sort and Label the Hardware
Pergola kits tend to come with a small army of bolts, washers, and brackets. Sort them out by size and quantity before you begin. Plastic containers or even muffin tins work perfectly. If you’re dealing with stainless hardware, keep a small magnetic tray handy—Utah breezes love to carry away stray screws.
4. Double-Check Post Placement
The posts determine everything—shade angle, symmetry, and stability. Dry-fit your posts and mark where each base plate will sit. If your kit includes anchors, make sure they’re perfectly plumb before tightening anything. Small misalignments now will be giant headaches later.
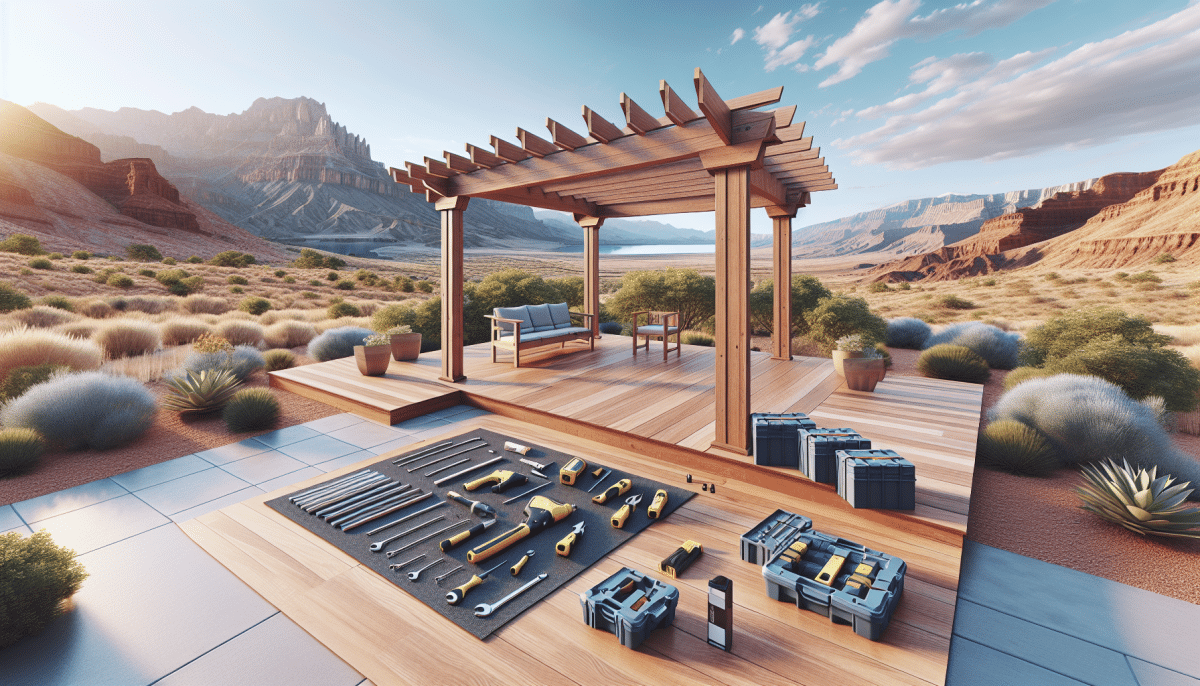
5. Use the Right Tools (Not Just What’s Lying Around)
Sure, you can muscle through assembly with a basic screwdriver set, but a cordless drill, level, and impact driver make the process cleaner and faster. Invest in a torque wrench for metal pergolas to avoid stripping bolts. If you’re assembling a cedar or redwood frame, pre-drilling is key—Utah’s dry climate can cause splitting if you rush it.
6. Don’t Skip the Sealant
Wood pergolas need sealing, especially in areas like Salt Lake County where UV rays are fierce. A good oil-based exterior sealant adds years of life and prevents warping. Apply before assembly if possible—it’s easier to coat boards flat than trying to maneuver a brush around beams later.
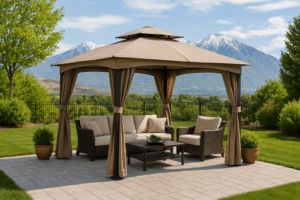
7. Align Canopy Rails Before Tightening
If your kit includes a canopy system, align the rails perfectly straight before locking them down. A tiny angle off means the canopy won’t slide smoothly. Trust me, you don’t want to fight your shade system every time the sun moves a few inches.
8. Secure for Wind and Weather
Even lightweight pergolas can act like sails in strong gusts. Use concrete anchors, steel brackets, or ground spikes depending on your surface. Davis County’s open yards are notorious for wind gusts—anchoring prevents tilt and wobble over time.
9. Take Your Time on Final Adjustments
The temptation to rush through the last steps is real. But take a moment to check everything—plumb lines, spacing between slats, canopy tension. Step back and look at the structure from all angles. If something looks off, fix it before you call it done.
10. Add the Personal Touches
This is where it stops being a “kit” and becomes your pergola. Add string lights, planters, or climbing vines. Mount outdoor curtains for privacy or a misting system for hot afternoons. It’s those finishing touches that make a structure feel less like an install and more like an oasis.
A Few Quick Extras You’ll Be Glad You Knew
- Check your HOA before building—some require pre-approval.
- Use stainless or galvanized hardware to prevent rust stains on wood or pavers.
- Pre-stain ends before cutting—open wood grain absorbs moisture fast.
- Check local load ratings if you plan to hang fans or lights.
Maintaining Your Pergola Through Utah Seasons
Pergolas in Utah face dry summers and snowy winters—two extremes that can shorten lifespan if ignored. In summer, inspect fasteners and canopy fabric every few months. In winter, remove the canopy if it’s retractable and brush off heavy snow loads. A quick spring rinse with mild soap keeps materials looking sharp.
You know what’s interesting? Most homeowners who assemble their own pergola end up enjoying it more. There’s something satisfying about sitting under a structure you built with your own hands. It’s equal parts pride and craftsmanship—a little DIY with a whole lot of payoff.
If you haven’t picked your kit yet, check out Utah Deck Supply’s Pergola Kits. You’ll find options that fit every space and skill level, from cedar classics to modern aluminum styles.
By Phone: 385-993-5492
By Form: Request a Quote