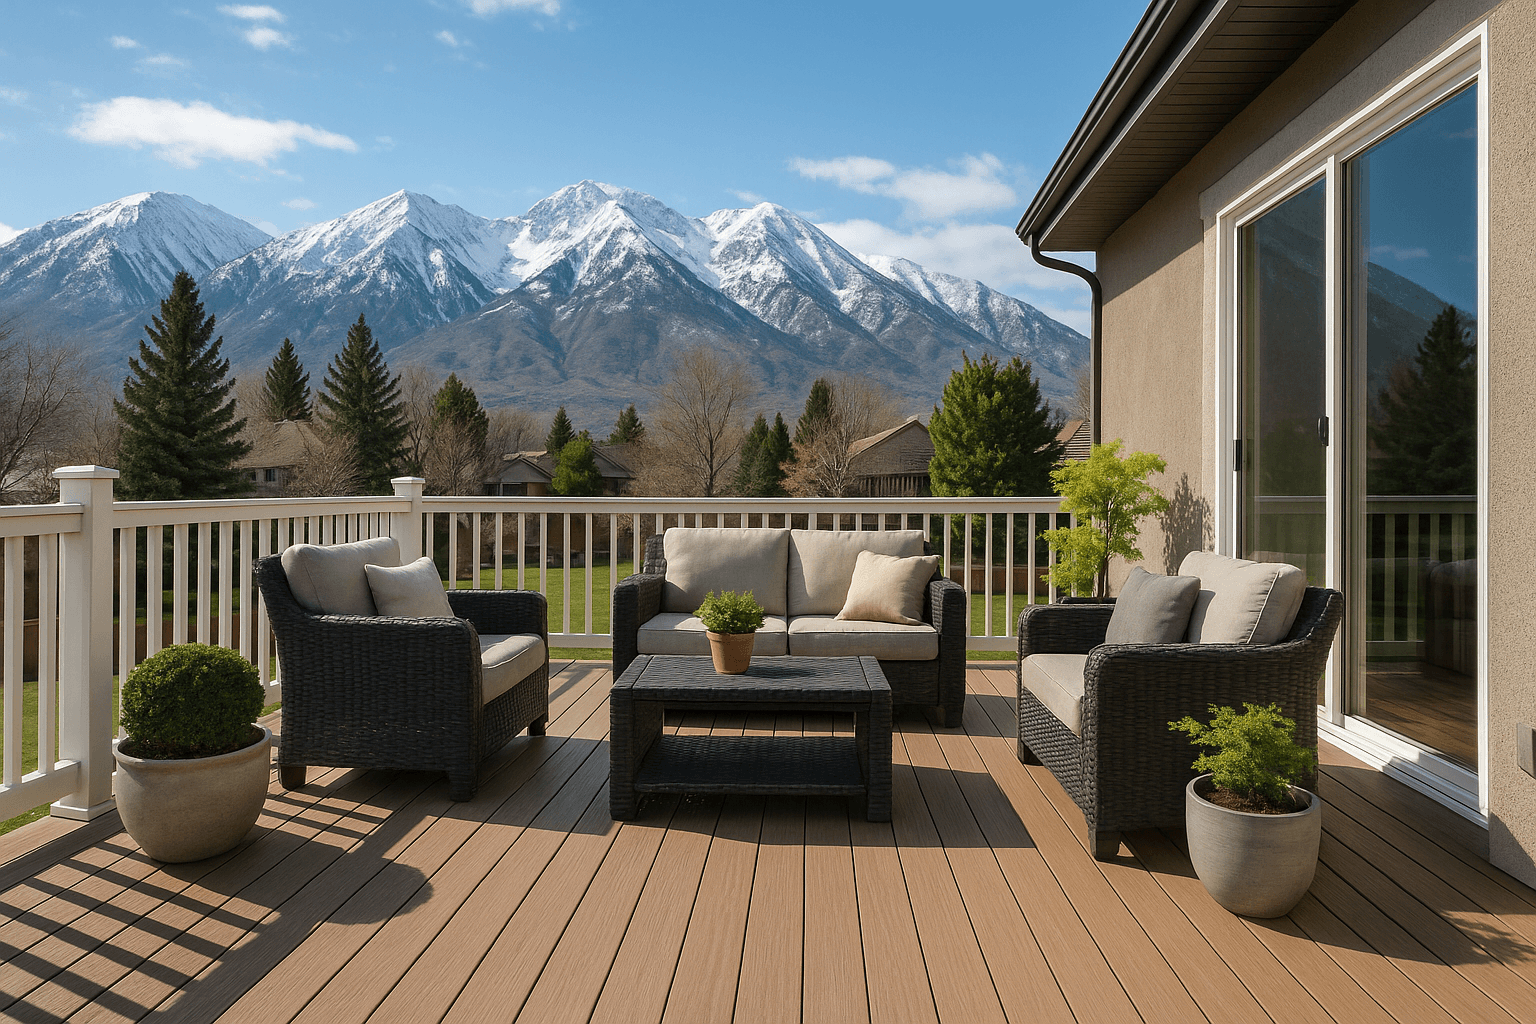
You’re handy. You’ve got a free Saturday (or three). And you can already picture the backyard cookouts with the Wasatch in the backdrop. Building your first deck doesn’t have to be stressful or fussy. With a simple plan and the right gear, you can get a sturdy, good-looking deck that stands up to Utah’s sun, snow, and those sneaky spring winds. Let me explain the easy steps, the local quirks, and a few tricks contractors swear by—without making your head spin.
Start with a simple plan (and a real budget)
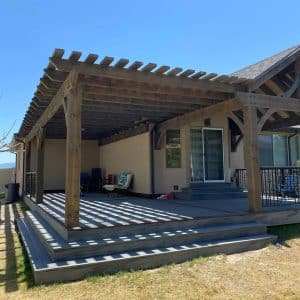
Keep the plan clean. Rectangles are your friend on a first build. Sketch the footprint, mark door swings, and think about sunlight. West-facing decks in Salt Lake County get hot—great in April, intense in August. If you want Shade, plan for a pergola or an umbrella base now, not later.
Budget wise, set two numbers: what you want to spend and your “we’re still okay” ceiling. Materials drive most of it. Pressure-treated framing is standard. Surface materials range from Cedar (lower cost up front) to composites like Trex and Timbertech (higher initial cost, lower upkeep). Don’t forget Hardware, concrete, fasteners, and a few tool rentals.
Contractor note: If you’re pricing multiple jobs, we can do fast takeoffs from your plans and hold pricing on common SKUs. Keeps bids tight and timelines clean.
Utah-specific prep: permits, frost, and 811
Here’s the thing: local rules matter. In the Wasatch Front, many cities require permits for attached decks. Check with your city (SLC, West Jordan, Layton, Lehi—each has its own threshold). Typical frost depth in much of Salt Lake and Davis Counties is around 30 inches, though some cities call for 36. Your footing depth must beat frost, or the deck can heave.
Before you dig, call Blue Stakes of Utah at 811. It’s free, and they’ll mark utilities. Skipping this is a bad story waiting to happen.
One more regional tip: plan for drainage. Slightly pitch the deck away from the house—about 1/8 inch per foot—so snowmelt has an exit.
Pick materials that fit your life
You know what? Materials aren’t just about looks. They’re about how you want to spend Sundays.
- Framing: Pressure-treated Lumber is standard. Use ground-contact rated for posts and anything near soil.
- Decking: Cedar is light and pretty but needs regular staining. Composites (Trex, TimberTech) shrug off UV and snow, and they won’t splinter on bare feet.
- Fasteners: GRK or SPAX Structural screws. Hidden fasteners like CAMO or Trex Hideaway for a clean surface. Stainless for coastal or high-snowmelt salt use; coated works for most of our counties.
- Flashing: Self-adhesive flash tape (G-Tape, Grace Vycor) for Joist tops. Metal Z-flashing over the ledger. It’s small stuff that adds years.
- Hardware: Simpson Strong-Tie connectors and post bases. Good hardware is the quiet hero.
If you’re between colors or textures, swing by our yard. Seeing boards in real light beats a screen every time.
Tools you’ll actually use
Keep it simple and safe. A DeWalt or Milwaukee circular saw, a reliable impact driver, a speed square, levels (2- and 4-foot), string lines, and a post-hole digger or auger. A miter saw helps with clean, repeatable cuts. For pros: a laser level speeds layout, and a framing nailer can save time on big runs.
Safety gear isn’t optional: eye protection, hearing protection, dust mask when cutting composites, and work gloves. Little things prevent big problems.
Layout made simple
Stake the corners and pull string lines. Measure diagonals corner to corner—when they match, you’re square. Mark footing centers with paint or flags. Step back and check door thresholds and step-down heights. A half-inch here or there makes real life easier: think grill placement, egress windows, and snow shoveling paths.
Footings and posts: the foundation
Dig to frost depth or the city requirement, whichever is deeper. Use Sonotube forms for clean cylinders. Bell the base a bit if your soil is sandy. Set rebar if your city calls for it. Pour concrete, then set Simpson post bases or wet-set anchors while it’s still workable. Keep them in line and at the same height; string lines help.
Pressure-treated posts land on those bases—plumb, cut to height, and braced. For a low deck, you may use beams on saddles or direct-to-footing hardware; check your plan and local code.
Framing that stays straight
The ledger (for attached decks)
This part needs care. Flash first: self-adhesive membrane against the house, then the ledger, then Z-flashing over the top. Fasten the ledger to the rim joist or structural wall using ledger screws or bolts per the manufacturer’s pattern. No guesswork here—follow the schedule. Keep lag bolts out of brick veneer. And never block a weep hole.
Beams and joists
Beams sit on posts—use the right hangers and through-bolts. Crown joists up, 16 inches on center for most decking; some composites want 12 inches. Check the decking brand’s span chart. Add blocking at mid-spans and under Railing posts.
Pro move: tape joist tops with butyl. It sheds water and keeps fasteners from chewing into wet wood.
Decking boards: clean installs, fewer squeaks
Run boards perpendicular to joists. Start straight—your first board sets the tone. Maintain gaps: about 1/8 inch for wood (wider if green), follow the composite’s guide for spacing. Use hidden fasteners with grooved boards for a smooth surface, or go face-screw with color-matched plugs for stairs and picture frames.
Leave a small gap where boards meet the house for airflow. Stagger joints so seams don’t stack. If you add a “picture frame” border, tighten joist spacing under it and double up the rim for clean nailing.
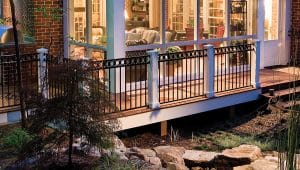
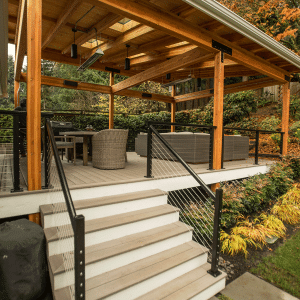
Railings and stairs without drama
Posts must be rock solid. Through-bolt them to framing with proper blocking—no screws into just the rim. Code height usually hovers around 36–42 inches depending on the city. Baluster spacing keeps a 4-inch sphere from passing through. If your deck is low, you might skip railing, but stairs still need handrails and consistent risers.
Cut stringers with a framing square and stair gauges. Keep rise and run consistent—your knees will notice even a quarter inch. Use solid landing pads (pavers or concrete) so stairs don’t settle with spring thaw.
Finish, clean, and care
Wood decks like a breathable stain or sealer—spring or fall is perfect. Composites need regular washes with mild soap and water. Avoid harsh ice melt Products on any deck; use calcium magnesium acetate or sand where you can.
Seasonal rhythm helps: fall check for loose fasteners, spring inspect for heave or movement, mid-summer wash off dust and pollen. Easy wins that keep things tight.
Common mistakes we see (and how to dodge them)
- Shallow footings. Utah frost will lift them. Dig to code depth.
- Missing ledger flashing. Water sneaks in; repairs get ugly. Flash it right.
- Too-wide joist spacing under composites. Follow the chart; 12 inches matters on angles.
- Skipping 811. Don’t. Call before you dig.
- Underestimating rail post blocking. Beef it up so the railing feels like a wall.
Small corrections now beat big fixes later. Ask us if something feels off—we’ve seen it all, and we’re happy to sanity-check.
DIY or call in a pro?
Here’s an honest take. If you’re comfortable with a saw, a level, and a weekend schedule, you can build a solid starter deck. Keep the design simple and the spans reasonable. If you’re adding multi-levels, long stairs, or a complicated ledger on older siding, a licensed contractor may save time and worry.
Contractors: we stock framing packages, composite lines in Utah-favorite colors, Simpson hardware, and CAMO systems—plus fast, jobsite delivery across Salt Lake, Davis, and Utah Counties. Need it at 7 a.m.? We get it.
Ready to build with us?
Whether you’re sketching on a napkin or sending over a full plan set, Utah Deck Supply can help you choose materials, Estimate costs, and schedule deliveries that match your build. Call us at 385-993-5492 or Request a Free Quote. Bring your measurements (or even rough ones). We’ll talk through the steps, flag any code quirks in your city, and set you up with boards, hardware, and the right fasteners—no guesswork, no headaches. Backyard evenings are closer than you think.