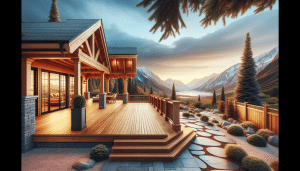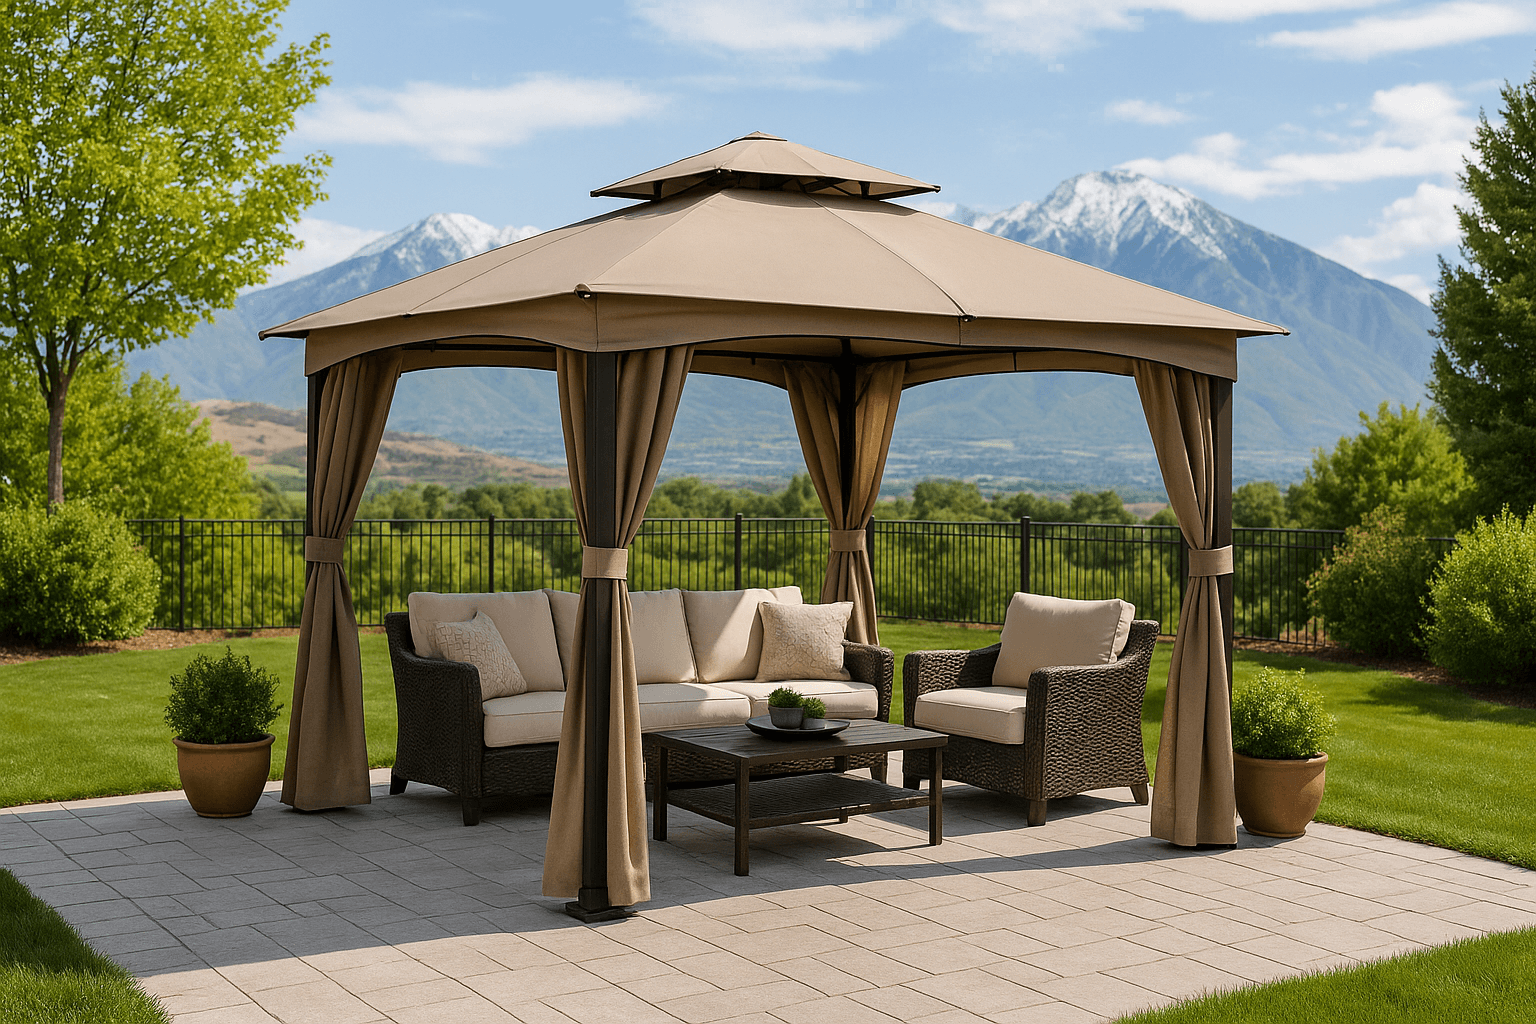
Shade, a sturdy roof, and a little backyard calm—that’s what a good gazebo brings. The build can look big on paper, but it doesn’t have to be hard. With a clear plan, the right base, and solid Hardware, you can set one up over a weekend. And here along the Wasatch Front—Salt Lake, Davis, Utah counties—your gazebo needs to stand up to wind, sun, and snow. Let’s make it easy, and make it last.
Plan smarter, not harder
Start with purpose. Reading nook, hot tub cover, outdoor dining, or a work zone for a contractor client? The purpose sets the size. It also sets where it goes. Watch the sun for a day or two. In July, you’ll want afternoon shade. In winter, you may want light. Trees are nice, but don’t put the roof under heavy limbs you’ll have to prune every spring.
Now check the rules. Many Utah cities require permits for roofed structures. Some are size-based. Some care about Footings. Electrical always triggers permits. HOAs add setbacks and color notes. A quick call to your local building department in Salt Lake County, Davis County, or Utah County will save you time.
Got a kit? Open it early. Verify every part and fastener against the instruction sheet. Lay out posts, beams, rafters, and roof panels. If you’re using Cedar, pre-stain before you assemble. It’s faster, cleaner, and you avoid drips on your pavers. If you’re going custom, sketch simple elevations and note heights—eave and ridge. A little drawing keeps the build on track. You know what? It also keeps arguments off the patio.
Tools and Materials you’ll actually use
Most gazebos go faster with two people. One person steadies; the other drives. Contractors know this by feel. DIYers feel it by lunch.
- 25–50 ft tape, string line, and a line level or laser
- Impact driver (DeWalt, Milwaukee, Makita—pick your flavor) and a drill
- Socket set, nut drivers, Torx bits (GRK or Spax Structural screws are clutch)
- 4 ft level, torpedo level, speed square, framing square
- Post hole digger or power auger (rent from Home Depot if needed)
- Masonry bit and hammer drill for concrete anchors
- Recip saw or circular saw, clamps, rubber mallet
- Ladder, eye protection, hearing protection, gloves
Hardware matters in Utah’s swings of heat and cold. Use hot-dip galvanized or stainless fasteners. Simpson Strong-Tie bases and brackets—ABA, ABU, or CBSQ for posts; H2.5A or similar ties for rafters—hold up well here. For concrete, wedge anchors work. For pavers or block, go with sleeve anchors sized for the base plates.
Pick your base: patio, concrete, or ground
Here’s the thing—your base is the whole story. If the base stays flat, the roof stays quiet, the doors close, and the structure looks right.
Patio pavers: Excavate 6–8 inches. Lay geotextile fabric, then 4–6 inches of compacted road base (class 5). Screed 1 inch of sand. Set pavers. Compact again. The gazebo can anchor through pavers into the compacted base with long sleeve anchors, or you can set small concrete pads under each post location before the pavers go down.
Concrete slab: A 4-inch slab with simple rebar grid is common. Let it cure. Then lay out post bases and drill for wedge anchors. It’s neat and strong and easy to sweep.
Individual footings: Many kits stand on four or six posts. Dig to frost depth—about 30 inches in much of the Wasatch Front. Pour piers with rebar and set adjustable post bases while the mud is green, or drill later and set anchors. Footings handle slope and look clean in a lawn.
Ground screws or helical piers: Fast, clean, no concrete wait. Great for high water tables and clay pockets. We can help you size these if you haven’t used them before.
Layout that stays square
Measure twice; pull diagonals three times. A square layout makes the roof go up smooth. Stake the corners. Run strings. Mark post centers with spray paint. Check square using the 3-4-5 method (or 6-8-10 on bigger frames), or compare diagonals—if they match, you’re square. Tighten strings if the Wasatch breeze starts humming. Re-check your marks. Repeat once more. Mild repetition here pays off later.
Set anchors and stand posts
For slab or patio bases: Position base plates. Drill pilot holes with a hammer drill. Vacuum the dust. Set wedge or sleeve anchors and torque to spec. Use stainless or hot-dip galvanized washers.
For footings: Set Simpson Strong-Tie post bases (ABA/ABU/CBSQ) centered in each pier. Keep a 1-inch standoff above grade to avoid splash-back rot. Let concrete cure before you load it.
Cut posts to rough height and stand them. Plumb each with a 4 ft level. Brace two ways with scrap 2x4s screwed low and high. Attach posts to bases with structural screws or through-bolts. Contractors’ tip: leave posts a hair tall and trim later at the beam line. A clean cut there looks pro.
Salt spray from winter roads can drift even into backyards—fun fact and not so fun. That’s why we push galvanized hardware. It’s boring, but it lasts.
Frame the roof: beams, rafters, and panels
Set your perimeter beams first. On kits, this is usually two long sides and two short sides with corner brackets. On custom builds, use doubled 2x beams or glulams sized for span. Fasten beams to posts with heavy brackets or notch-and-bolt joinery. Both work. Brackets are faster.
Check level across opposing beams. If one end is high, trim the post. If one is low, adjust the base or shim with composite shims under the bracket (not wood shims—those crush).
Install rafters. Many kits use pre-drilled Steel saddles or stamped brackets. On timber frames, toe-screw or use rafter ties like H2.5A or LRU hangers. Keep the spacing even. Pull a string at the ridge to keep things straight.
Roofing depends on the kit. Powder-coated steel panels snap and screw down fast. Polycarbonate panels bring in light—great over a spa. Plywood plus shingles looks classic; add drip edge and ice-and-water shield on the eaves because Utah storms come sideways sometimes. Fastener tip: don’t overtighten on metal panels; you’ll warp the ribs.
Work safe on ladders. One person feeds panels. One person fastens. Keep screws in a pouch. An impact set to medium saves stripped heads.
Mounting to a deck? Different game
Don’t lag into Deck Boards alone. That’s a squeak waiting to happen. Add blocking under each post location. Tie the blocking into joists with structural screws. Through-bolt the post base to the blocking with carriage bolts and washers. If the deck has a membrane, flash and seal every penetration. Trex or Timbertech surfaces need proper spacers so you don’t crush the capstock.
While you’re there, peek at your ledger and Joist hangers. Gazebos load a deck different than a grill and chairs do. If anything looks tired, shore it up now.
Weather-proofing and finishing touches
Seal exposed cuts with stain or end-grain sealer. Use a UV-rated finish on cedar. Aluminum and steel frames like a little silicone at panel laps. Add hurricane ties on corner rafters if your yard funnels wind—that Ogden to Point of the Mountain gust has no mercy.
Accessories that feel small but matter:
- GFCI outlet in a weather-rated box for lights or a fan
- Warm string lights with coated bulbs
- Mosquito lanterns, because dusk is lovely until it isn’t
- Privacy screens or slatted walls on the windward side
Snow note: Brush heavy snow off polycarbonate or light metal roofs with a soft broom. The structure can handle design loads, but regular clearing keeps screws and panels happy.
DIY or hire-out? The honest math
A two-person team can build a kit gazebo in 6–10 hours if the base is ready. Custom timber takes 2–3 days plus drying time for stain and concrete. Add more time if you’re trenching for power. Electrical and gas lines are worth calling in licensed pros—clean, safe, inspected.
Contractors: we stock connectors, structural screws, anchors, and stains that pass inspection and look sharp. Homeowners: we’ll help you choose a kit that fits your yard and your weekend. And yes, we deliver across Salt Lake County, Davis County, and Utah County. Need a boom truck for heavy timbers? Say the word.
Quick checklist you can screenshot
- Confirm HOA, setbacks, and permit
- Choose base: pavers, slab, footings, or ground screws
- Square layout; mark post centers
- Set anchors; stand and brace posts plumb
- Install beams level; trim posts as needed
- Set rafters; add ties or hangers
- Install roofing; seal laps and edges
- Stain/paint cuts; add lights and GFCI
- Final tighten, clean up, and enjoy
Ready to build? We’ll help
Whether you’re a weekend builder or a seasoned framer, Utah Deck Supply makes gazebo installs simple. We carry kits, cedar and treated Lumber, Simpson Strong-Tie hardware, GRK screws, anchors, stains—the whole package—and we know what holds up along the Wasatch Front. Have a quick question, or want parts staged for pickup? Call us at 385-993-5492. Want pricing and a material list sent to your inbox? Request a Free Quote and we’ll get you set up fast.