A well-built deck is a fantastic addition to any home, but the journey isn’t complete without a safe and stylish way to get up and down. That’s where a deck stair railing comes in, providing the perfect blend of safety, function, and aesthetic appeal. Honestly, it’s the finishing touch that makes your outdoor space truly usable and secure for everyone.
First Steps: Understanding the Essentials of Deck Stair Railing
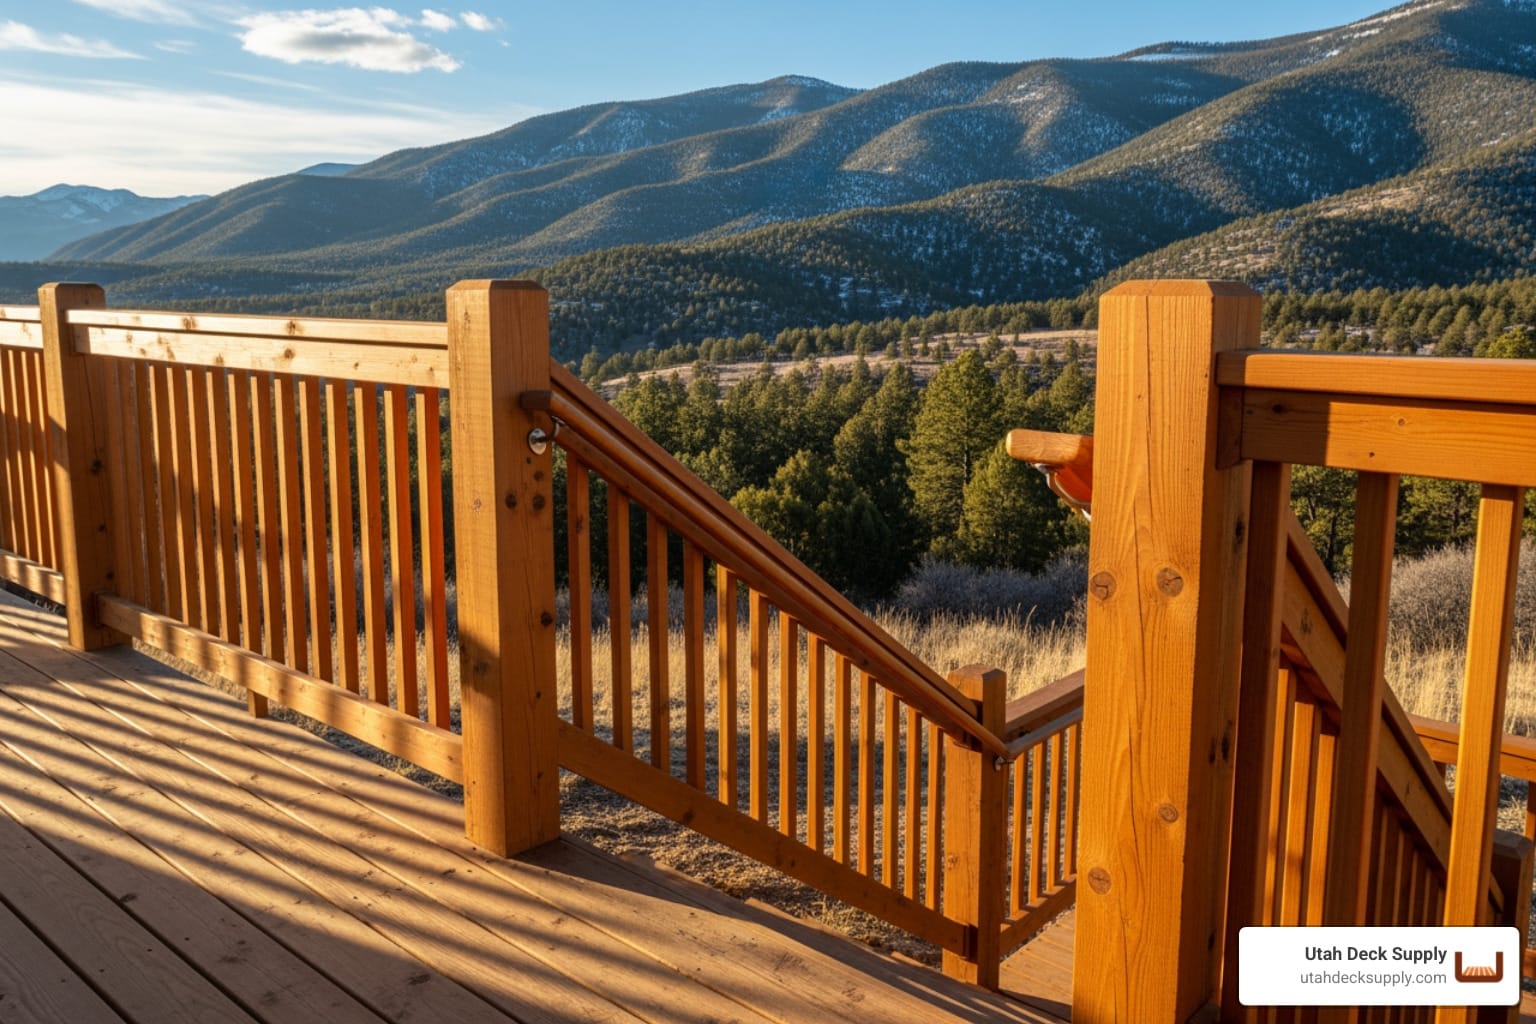
Deck stair railing is a specialized system designed for the angled stairs leading to or from your deck. Unlike level railings, these must accommodate stair angles—typically 32 to 37 degrees—requiring specific hardware and angled cuts. It’s not just about looks; it’s about creating a safe transition from your deck to the ground below.
Key requirements include:
- Required by code when your deck is 30 inches or more above ground
- Minimum height of 34 inches (measured from the stair tread nose)
- Baluster spacing must prevent a 4-inch sphere from passing through

Why Railings are Non-Negotiable
Let me explain why they’re non-negotiable. Safety is the number one reason. Building codes require a railing if your deck is 30 inches or more above the ground to prevent serious falls. Beyond that, railings provide stability for children and elderly family members, give your deck a finished look, and increase home value by showing attention to code compliance. For more safety guidance, see our Deck Safety Checklist: Ensuring Your Deck is Secure.
Deck Railing vs. Stair Railing: What’s the Difference?
You know what? This is a common question. While they look similar, there are key differences:
| Feature | Level Deck Railing | Deck Stair Railing |
|---|---|---|
| Installation Angle | Level (0 degrees) | Angled (typically 32-37 degrees) |
| Minimum Height | 36 inches | 34 inches (measured from tread nose) |
| Hardware | Standard brackets | Adjustable stair brackets |
| Post Mounting | Attached to deck frame | Attached to stair stringers |
| Rails | Straight, level cuts | Angled cuts on both ends |
The angled installation is the main challenge. Every component—rails, balusters, and brackets—must be installed at the correct angle while still ensuring a 4-inch sphere can’t pass through the balusters. Most systems accommodate angles from 32 to 37 degrees.
As James Bonham, co-founder of Utah Deck Supply with years of experience at Trex Company, I’ve helped countless homeowners steer deck stair railing selection. Understanding these fundamentals is the first step to success.

Designing and Choosing Your Deck Stair Railing
Choosing the right deck stair railing involves balancing safety, durability, and aesthetics. With so many options available today, it’s easy to feel overwhelmed. But don’t worry, we’re here to break it down for you.

When selecting your railing, consider its material, design style, and whether a convenient all-in-one kit is right for you. For a broader overview, explore our Deck Railing Options: Safety and Style Combined.
Choosing Your Material: From Classic Wood to Modern Metal
The material you choose for your deck stair railing is a big decision. Here are the most popular types we see in Utah:
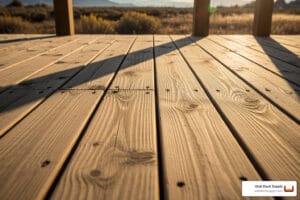
- Wood: Offers a classic, natural look that can be stained or painted. While affordable upfront, it requires regular maintenance (sanding, sealing) to prevent rot and warping. For a more durable wood option, consider Cedar Decking or redwood, but be prepared for the upkeep.
- Composite Railing: A low-maintenance and highly durable choice resistant to mold, rot, and insects. As experts in Utah’s climate, we often recommend composite from brands like Trex and TimberTech for its resilience and vast customization options that can mimic wood without the hassle.
- Aluminum Railing: Extremely durable, rust-resistant, and low-maintenance, aluminum offers a sleek, modern aesthetic. It’s a fantastic alternative to iron, providing a chic, minimalist feel with excellent sightlines. Our Aluminum Deck Railing: Complete Guide has more details.
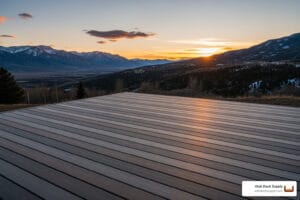
- Cable Railing Systems: Perfect for preserving views, cable railing provides a modern, industrial look with thin, durable stainless steel cables. While the upfront cost is higher and installation requires specific post strength for tensioning, it’s an unbeatable choice for decks overlooking Utah’s stunning landscapes.
- Glass Panels: For a truly luxurious feel and completely unobstructed views, tempered glass panels are a great option. They are heavy and have a high upfront cost, but they create a clean, expansive look with minimal maintenance beyond regular cleaning.
- Vinyl Railing: A practical, affordable, and very low-maintenance “set it and forget it” solution. Vinyl is resistant to rot and fading and is easy to clean, making it a sturdy and durable choice for many homeowners.
Here’s a quick comparison to help you weigh your options:
| Material | Durability | Maintenance | Cost (Upfront) | Style |
|---|---|---|---|---|
| Wood | Moderate | High | Low-Moderate | Classic, Natural, Traditional |
| Composite | High | Low | Moderate-High | Versatile, Modern, Traditional |
| Aluminum | Very High | Very Low | Moderate-High | Sleek, Modern, Industrial |
| Cable | Very High | Low | High | Contemporary, Minimalist |
| Glass | High | Moderate (cleaning) | Very High | Modern, Luxurious, Unobstructed View |
| Vinyl | High | Very Low | Low-Moderate | Classic, Clean, Low-Maintenance |
Key Design Considerations for Your Deck Stair Railing
Once you’ve picked a material, it’s time to think about design. Your deck stair railing is a prominent feature that can significantly impact your home’s curb appeal.
- Matching Home Aesthetic: Your railing should complement your home’s architectural style, whether it’s a rustic cabin or a modern farmhouse. For example, Black Aluminum Railing can mimic a wrought-iron look, contrasting beautifully with a Craftsman-style porch.
- Modern vs. Traditional: Modern styles favor clean lines and materials like aluminum, cable, or glass. Traditional designs use wood or composite with more decorative elements. A transitional look might blend both, like a composite drink rail with cable infill.
- Infill Options: This is where you can get creative! Choose from classic vertical balusters (wood, composite, aluminum), view-friendly cable, completely open glass panels, or even unique decorative panels offered by some systems.
- Drink Rail: A popular and functional upgrade, a flat top rail made from a deck board provides a convenient spot for drinks and decorations.
- Integrated Lighting: Add ambiance and safety with integrated LED lighting in posts or under handrails to improve visibility and improve your deck’s look at night.
We encourage you to explore our Gallery for inspiration and see how different materials and styles come together in real-world applications across Utah.
Are Deck Stair Railing Kits Right for You?
Honestly, deck stair railing kits are a game-changer for many DIY builders and contractors. They simplify the process by packaging all necessary components—angled rails, balusters, post sleeves, and hardware—into one box. Many kits are designed for easy, DIY-friendly installation with pre-assembled panels or pre-routed posts that speed up the process and reduce labor costs. While the initial price might seem higher, the savings in time and reduced waste often make kits a cost-effective solution. Explore our guide on Deck Railing Kits to see if one is right for you.
The Final Ascent: Installation, Safety, and Your Next Steps
You’ve chosen your material and design, now it’s time for the crucial steps of installation and ensuring everything meets safety standards. This is where attention to detail really pays off, ensuring your deck stair railing is not only beautiful but also rock-solid and code-compliant.
Ensuring Your Deck Stair Railing is Safe and Code-Compliant
Safety isn’t just a suggestion; it’s a requirement. Building codes are in place to prevent accidents, and it’s crucial to comply with local Utah regulations. Here are the key requirements for your deck stair railing:
- Railing Height: Minimum height is typically 34 inches, measured vertically from the nose of the stair tread. Always check with your local building department, as requirements can vary.
- Baluster Spacing (4-inch Sphere Rule): The space between balusters must be less than 4 inches to prevent small children from passing through.
- Bottom Rail Clearance (6-inch Sphere Rule): A 6-inch sphere should not be able to pass between the stair tread and the bottom rail.
- Post Strength: Posts must be securely anchored to the stair stringers and spaced appropriately (typically less than 6 feet apart) to ensure stability.
- Handrails: For longer stair runs, a continuous, graspable handrail is an important safety feature.
We can’t stress this enough: always review your plans with your local building official before installation to ensure compliance. The Prescriptive Residential Wood Deck Construction Guide is another excellent resource for general code information. For more on local rules, see our guide on Deck Building Permits and Regulations: Navigating the Red Tape.
A Quick Guide to Measuring and Installation
Installing a deck stair railing requires precision. Here’s a simplified overview of the process:
- Determine Stair Angle: Use an angle finder or Speed Square to measure the pitch of your stairs. Most kits work for angles between 32 and 37 degrees.
- Measure Rail Length: Measure the distance between posts where the rails will attach. Remember to measure twice and cut once!
- Post Placement: Securely attach posts to the stair stringers at the top and bottom of the stairs, with intermediate posts spaced no more than 6 feet apart.
- Attach Brackets: Mount the angled stair brackets to the posts per the manufacturer’s instructions.
- Cut and Install Rails: Cut the top and bottom rails to length at the correct angle and attach them to the brackets.
- Install Infill: Cut and install balusters, ensuring they are spaced to meet the 4-inch sphere rule. Use a level to ensure consistent placement.
- Finishing Touches: Add post caps and any secondary handrails to complete the installation.
While many kits are DIY-friendly, don’t hesitate to call a pro for complex designs. Investing in quality materials and proper installation ensures your deck is safe, compliant, and beautiful for years to come. With a huge in-stock selection and the expert advice you need, Utah Deck Supply is here to help you find the perfect solution. If you have any questions or are ready to get started, give our team a call at 385-993-5492 or Request a Free Quote today.