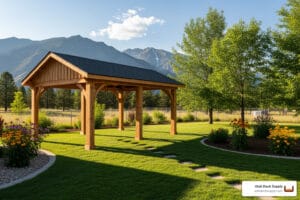
Choosing the right structure for your backyard can feel overwhelming, but the timeless appeal of a Gable roof pavilion offers the perfect blend of style and functionality. Whether you are looking for a poolside retreat or a sturdy shelter for family gatherings, this classic design provides the architectural charm and durability needed to transform any outdoor space.
Why Gable Roof Pavilions Stand Out
A gable roof pavilion features a classic two-sided pitched roof that forms a triangular shape at each end. It is a top choice for Utah homeowners for several reasons:
- Superior weather protection: The steep pitch sheds snow and rain efficiently, which is ideal for the Wasatch Front.
- Improved ventilation: High ceilings and open ends allow heat to escape naturally during hot summers.
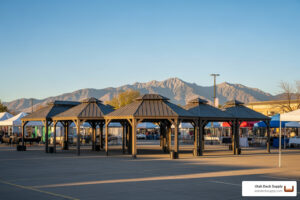
- Architectural flexibility: Available in single, three, or four gable configurations to match any home style.
- Material options: Build with traditional Douglas Fir, weather-resistant cedar, or low-maintenance steel.
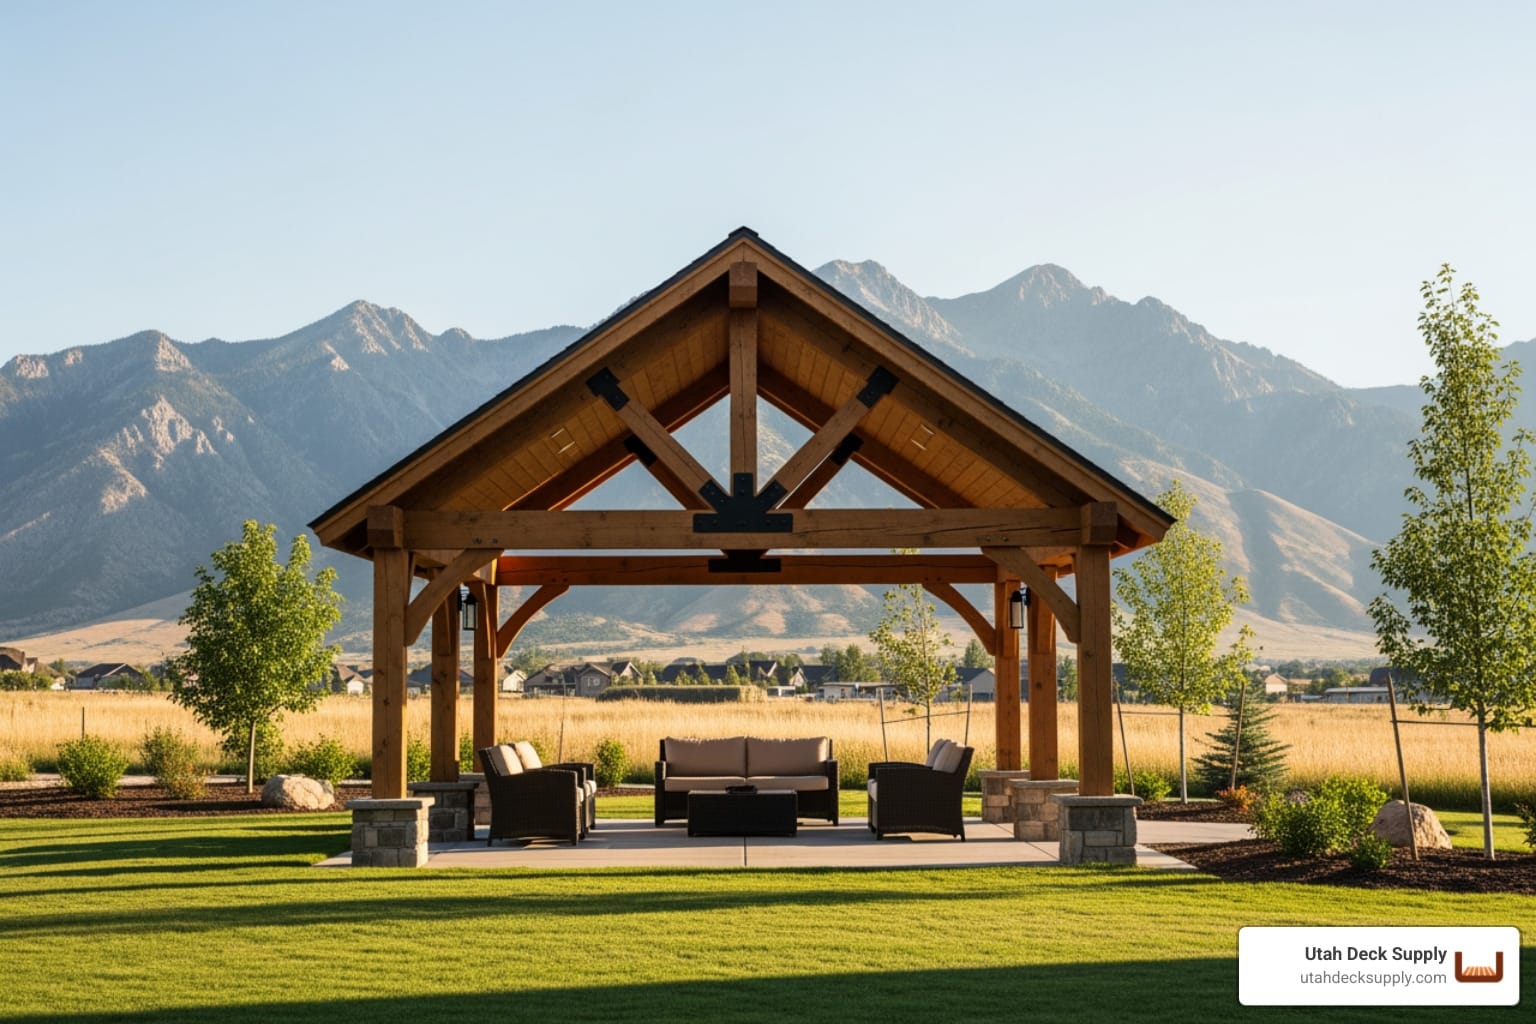
Honestly, a Gable roof pavilion is more than just a backyard structure; it’s a focal point that adds instant curb appeal. The classic triangular profile doesn’t just look good—it actively protects your outdoor living space. Compared to flat designs, gable roofs are simpler to frame and more forgiving for DIY installation.
I’m James Bonham, co-founder of Utah Deck Supply. I’ve spent years helping contractors and homeowners select the right materials for outdoor structures that last. From my time at Trex Company to building Utah’s premier decking superstore, I’ve seen how the right pavilion can transform a property. Let me walk you through the planning and building process.

Key terms for Gable roof pavilion:
Planning and Building Your Gable Roof Pavilion
Building a Gable roof pavilion is an exciting project, but it requires careful planning. In Utah, our winters bring heavy snow and our summers are scorching. A gable roof’s pitched design is fantastic for shedding snow and allowing heat to escape. Before you start, consider your site’s sun exposure, wind patterns, and local building codes in cities like Salt Lake City or Provo.

Aesthetic Versatility: Single, Three, and Four Gable Roof Pavilion Designs
One of the best things about this design is its versatility. You can choose a style that fits your specific needs:
- Single Gable: The most common design, featuring two sloped sides. It’s simple, neat, and highly functional.
- Three Gable: Introduces an additional ridge, often creating a charming entrance wing or defining an outdoor kitchen area.
- Four Gable: For a grander look, multiple intersecting gables create a sophisticated focal point, perfect for showcasing exposed trusses like King Post or Hammer Beam designs.
For more inspiration, check out our guide on More info about outdoor pavilions.
Climate Resilience and Structural Benefits
The popularity of the Gable roof pavilion in Utah is rooted in its practical advantages. Let me explain why this design excels:
- Snow Shedding: The steep pitch (often 6:12 or 8:12) prevents dangerous snow accumulation.
- Rain Runoff: Water is channeled away from the structure, protecting your foundation.
- Natural Ventilation: High vaulted ceilings allow hot air to rise and escape, keeping you cool.
- Wind Resistance: The triangular shape is inherently stable and strong.
To learn more about how a covered structure can protect your space, explore our insights on More info about covered pavilions.
Essential Materials: From Douglas Fir to Steel
Your choice of materials impacts both aesthetics and maintenance. At Utah Deck Supply, we offer several high-quality options:
- Douglas Fir: Known as the best wood for support beams due to its exceptional strength.
- Cedar: Naturally resists rot and insects. We supply premium More info about cedar pavilion kits.
- Steel: For a modern, low-maintenance look, Fortress Steel frames are noncombustible and carry 25-year warranties.
| Feature | Wood (Douglas Fir/Cedar) | Steel (Fortress Steel) |
|---|---|---|
| Durability | Strong; Cedar resists rot | Extremely strong; fire-resistant |
| Maintenance | Requires regular staining | Low maintenance; no staining |
| Aesthetics | Traditional, rustic feel | Modern, sleek, industrial |
Step-by-Step Construction of Your Gable Roof Pavilion
While building a pavilion is a big task, the roof construction can be broken down into manageable steps. For specific dimensions, we refer to Scientific research on building a 16×18 pavilion roof.
- Prepare Lumber: Select straight, weather-resistant planks free from twists.
- Cut Rafters: Precision is key. Cut rafters at specific angles (like 26.5 degrees) and create “birdsmouth” notches where they sit on the beams.
- Install Ridge Beam: Secure the central ridge beam and attach rafters, typically spaced 16 to 24 inches on center.
- Apply Sheathing: Cover the structure with plywood sheets, securing them tightly.
- Drip Edges and Tar Paper: Install drip edges to direct water away and cover the plywood with roofing felt for moisture protection.
- Roofing and Finishing: Install asphalt shingles and finish the wood with stain to protect it from the Utah sun.
Conclusion: Bringing Your Outdoor Vision to Life
The journey to creating your ideal outdoor space culminates in the functional beauty of a Gable roof pavilion. These structures are designed to be an extension of your home and a stage for cherished memories. A well-constructed pavilion becomes an instant focal point, inviting comfort year-round.
Customization and Modern Amenities
You know what? Your outdoor space should reflect your personal style. Consider these modern upgrades:
- Integrated Power: Use TimberVolt posts to add USB outlets and electrical receptacles for outdoor TVs or lighting.
- Decorative Elements: Use hardware from Simpson Strong-Tie or add privacy walls for a secluded feel.
- Stain Colors: Choose from a wide palette, including Walnut, Black, or Blue, to match your home. For more ideas, see More info about wood pavilion kits.
Choosing the Right Path: Kits vs. Custom Builds
Deciding between a kit and a custom build depends on your timeline and skill level:
- Pre-Cut Pavilion Kits: These are perfect for a faster build. A 16×18 roof can often be assembled in a day. Check out our More info about wooden pavilion kits.
- DIY Custom Builds: Building from scratch using our Douglas Fir lumber packages allows for maximum design freedom. Materials for an 18×24 build typically start around $10,000. You can find plans here: Scientific research on 18×24 pavilion plans.
At Utah Deck Supply, we pride ourselves on offering better materials and expert guidance than big-box stores. Whether you want a pre-cut kit or a custom lumber package, we are here to help. Explore our full range of More info about gazebo and pavilion kits to get started.
If you’re ready to lift your backyard with a structure that combines beauty and brawn, Request a Free Quote or contact us at 385-993-5492 today.