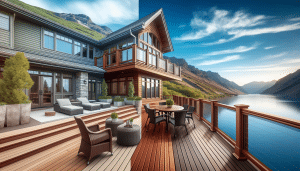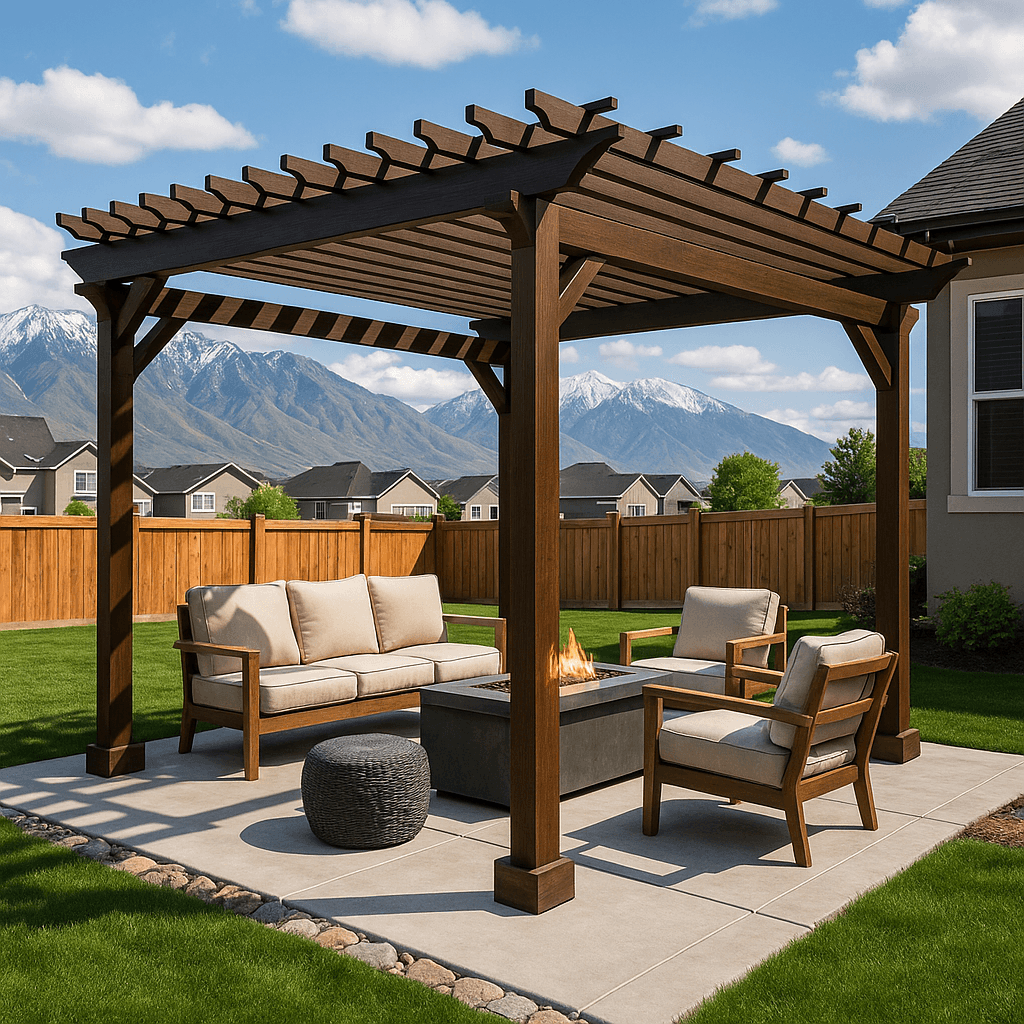
You can picture it already: late summer light, a cool drink, a little Shade on your patio while the kids hunt grasshoppers or your crew loads out for the next job. A well-built pergola does that. It frames the yard, adds value, and frankly—looks sharp against the Wasatch. If you’re in Salt Lake, Davis, or Utah County and you’ve got a free weekend (or a full schedule but room for one more add-on), here’s a step-by-step guide that keeps the build clean, square, and Utah-weather tough.
Start smart: plan the size, style, and load
Grab a tape, a sketch pad, and a clear head. Think through how you’ll use the space. Shade over the grill? Cover a sitting area? A walkway accent?
Freestanding or attached? An attached pergola uses a ledger on the house. It’s tidy and saves on posts, but you’ll need to flash it right. Freestanding stands on its own four (or six) legs and plays nice with stucco or brick. Both work great.
Material matters too. Cedar is classic, light, and easy to cut. Pressure-treated is budget-friendly and durable with stain. Aluminum and Steel kits are clean and low-maintenance. If snow loads or wind are a concern—canyon folks, we see you—go heavier on posts and beams.
Permits and Utah realities (brief but important)
Many backyard pergolas fly under the permit radar. Then again, some don’t. Span, height, attached vs. freestanding—these can trigger a permit. Check with your city’s building department. It’s a quick call that saves headaches.
Footings should reach below frost line. Along the Wasatch Front, that’s typically 30–36 inches. Soil in new build neighborhoods can be loose; dig deeper and bell the base if needed. Concrete takes time—plan for cure days if you’re scheduling crews.
Tools and Materials that make life easier
You don’t need a trailer full of gear, but good tools pay you back.
- Post hole digger or 8″–10″ auger, shovel, wheelbarrow
- DEWALT or Makita drill/driver, impact driver, 12″ miter saw
- Level, framing square, speed square, string line, marking paint
- Simpson Strong-Tie post bases, beam seats, Structural screws
- Quikrete 5000 or similar, gravel for drainage
- Stain/sealer (UV-resistant) and quality brush or sprayer
From Lumber to Hardware, Utah Deck Supply can kit this up so you’re not chasing parts mid-build.
Layout that doesn’t fight you
Clear the site and roll out a string line. Square the footprint with the 3-4-5 method (or 6-8-10 for larger spans). If you like gadgets, a laser helps, but string never lies.
Mark post centers. Keep spans sane—8 to 10 feet is comfortable for most builds. Longer is possible with beefier beams. If you’re going near a gas line or sprinkler main, call Blue Stakes before you dig. It’s free and fast.
Footings and post bases: do these right, and everything feels easy
Dig holes to frost depth, wider at the bottom if soil is sandy. Drop a few inches of gravel for drainage. Set Sonotubes if you want clean tops.
Mix concrete to a thick oatmeal feel. Set J-bolts or wet-set post bases at your layout marks. Keep them square to the line and at matching height. Here’s the thing: this step takes patience. But a level set of bases saves hours later.
Posts: plumb, cut, and braced
Stand your posts in the bases, rough-cut a bit tall. Plumb each post and brace it with scrap 2x4s. Tighten the base hardware. Now mark final height with a laser or water level, then cut tops to match. Keep the crown of the lumber facing up—old framing habit that still pays off.
Contractor tip: pre-seal the bottom 2–3 feet of posts (the part that catches splash and snow). It’s a small thing that stretches life.
Beams: the backbone of the look
Beams carry the load and set the vibe. Two 2x10s sistered on each side of the post is a common, stout setup for wood. Steel or aluminum kits will have matching beams and hardware.
Seat the beams on top of the posts where possible—it’s stronger than bolting to the sides. Use Simpson beam seats or through-bolts with washers. Clamp, check level, then fasten. Step back for a sightline check. If it looks straight, it probably is.
Snow and wind note: If your pergola sits out where lake-effect squalls hit hard, consider a knee brace at each corner. It’s old-school and still smart.
Rafters and shade slats: where function meets style
Rafters usually run perpendicular to the beam. Common spacing sits at 16″ or 24″ on center. Heavier looks great at 12″ on center, and you’ll love the shade. Cut decorative tails if you like—classic scroll, simple 45, or a modern square cut. Pre-sand before you install; you’ll thank yourself.
Lay the first and last rafter, square them up, then fill in the middle. Use Joist hangers or toe-screws with structural screws. Add purlins or shade slats across the rafters to tighten up coverage. Want near-solid shade without going solid? Angle the slats or add a UV shade cloth. You know what? It makes late afternoon dinners feel ten degrees cooler.
Ledger attachment (if you go attached)
On stucco or brick, consider a freestanding design to avoid envelope issues. If you do attach, flash it right. Peel-and-stick membrane behind the ledger, metal drip cap on top, and lag into studs or rim joist—never just the sheathing. Use 1/2″ lags or structural screws like Simpson SDWS with proper spacing.
Small contradiction here: a ledger looks simple, but it’s the most technical part. Once you flash it well, though, it’s simple again.
Finish that fights sun, snow, and sprinklers
Utah sun is no joke at 4,300 feet. Use a quality UV-blocking stain or paint. Oil-based stains soak in and highlight grain. Water-based Products dry quick and clean up easy. Either way, two coats on cut ends and screw penetrations.
Hardware deserves love too. Hot-dip galvanized or powder-coated holds up. Stainless shines but costs more. On aluminum and steel, keep dissimilar metals apart with isolators to prevent corrosion.
Seasonal smarts and small upgrades
Spring and fall are sweet spots for building—cool temps, steady curing. Winter builds work with cold-weather concrete additives and more cure time. In heavy snow zones, brush off deep accumulations; pergolas aren’t roofs.
Trending the last two years: integrated string lights, low-voltage LED channels, and motorized shades on west exposures. Nothing crazy—just clean touches that make the space feel finished.
Common mistakes (and quick fixes)
- Posts out of plumb: loosen braces, tweak, re-check from two sides.
- Rafters not lining up: snap a chalk line on top of beams and set from that.
- Wobbly feel: add diagonal bracing or check base hardware torque.
- Uneven beam heights: shim with steel shims at seats or trim posts to match.
- Stain looks blotchy: sand to 120 grit, wipe dust, and apply thin, even coats.
Let me explain a little truth: small fixes done early beat big fixes later. Take the extra five minutes now.
DIY weekend or contractor add-on? Both work.
Homeowners: plan for two full days, three if you stain after install. Pull a friend for the beam lift and rafter set. Keep snacks handy; morale is a tool.
Contractors: pre-cut rafters and tails on sawhorses, label by span, and pre-drill for hangers. Pre-finish in the shop when weather is wet. It shortens on-site time and makes rain delays less painful.
Either way, Utah Deck Supply can bundle beams, posts, hardware, and finish so the job runs smooth. Need custom lengths or a fast swap when the plan changes? We keep stock moving for Salt Lake, Davis, and Utah County crews and DIYers.
Ready to build your pergola? We’ll help you nail it.
If you want a material list, a quick sanity check on spans, or a full kit staged for pickup, call Utah Deck Supply. Talk to a real person who knows pergolas, knows the Wasatch weather, and won’t oversell you. Reach us by phone at 385-993-5492, or Request a Free Quote. Let’s get that shade structure up and looking good.