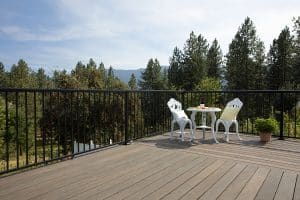
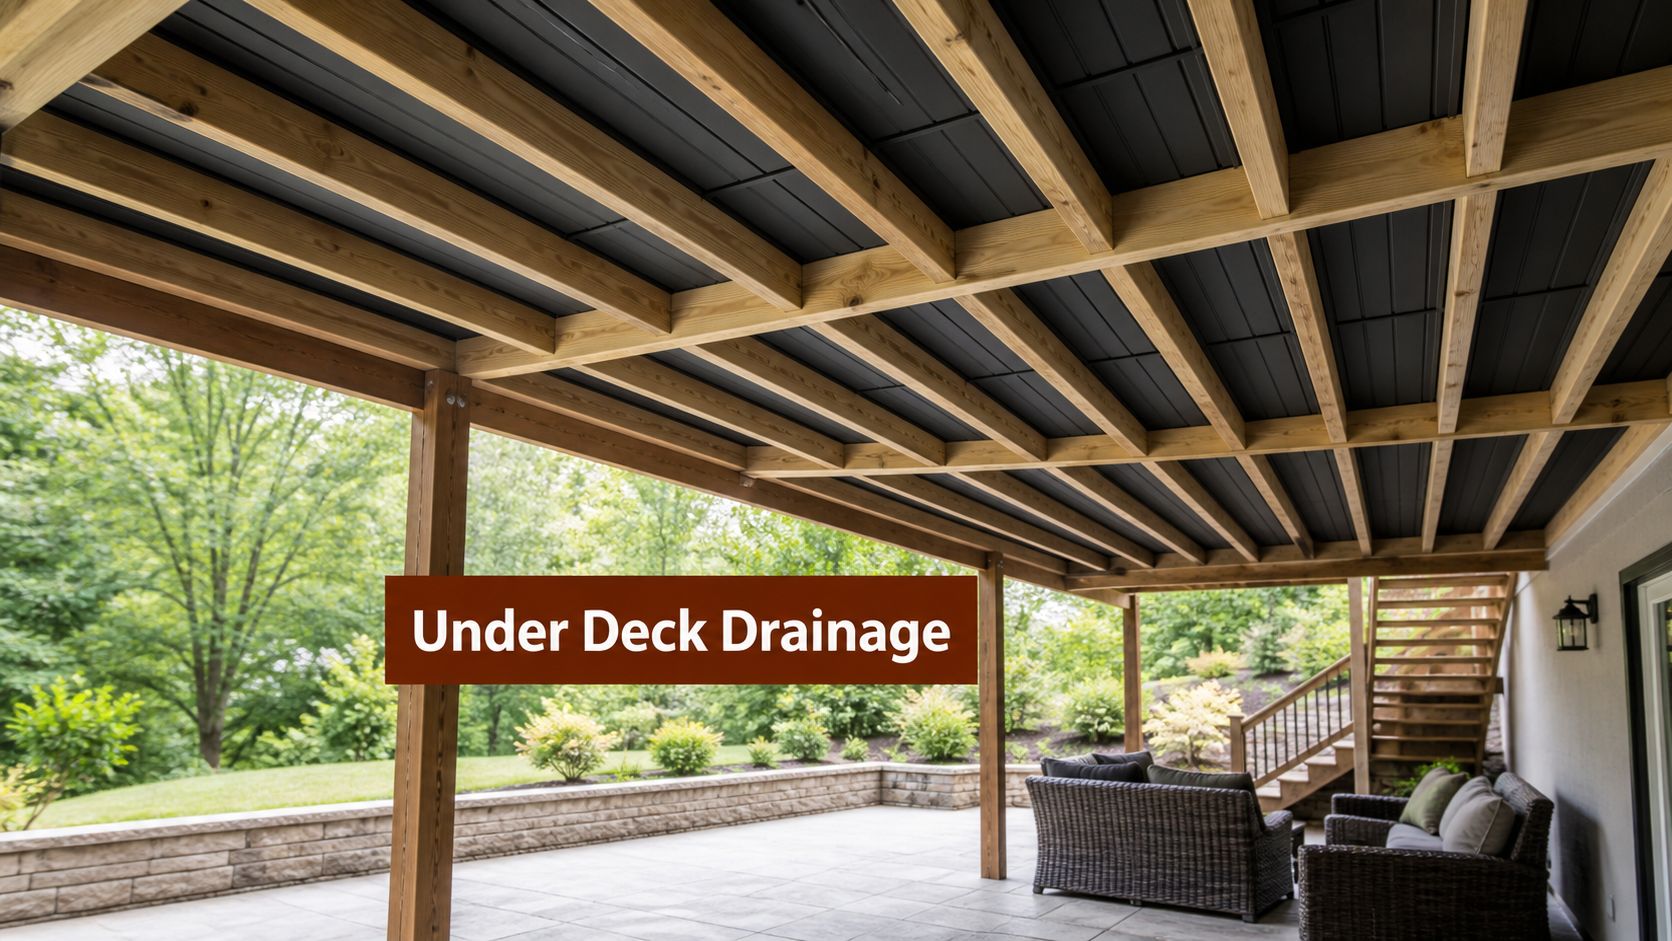
In Utah, a professionally installed under deck drainage system often falls in the $9 to $25 per square foot range as a planning estimate, and the final number depends on the system style, deck layout, and finish level. That's usually the number homeowners are trying to pin down when they're staring at a wet, muddy space below a deck and deciding whether it's worth turning it into something usable.
That under-deck space is wasted on a lot of Wasatch Front homes. Rain and snowmelt drip through the board gaps, splash dirt onto the siding, and leave the area below too damp for furniture, storage, or a clean patio setup. A drainage system changes that by catching water and moving it to the edge of the deck instead of letting it fall straight through.
What Is an Under Deck Drainage System
An under deck drainage system is a water-management setup that captures the water coming through deck boards and routes it away from the area below. The goal is simple. Keep the space under a raised deck dry enough to use.
On most homes, the problem isn't hard to spot. The upper deck works fine, but the lower area stays wet, dirty, and dark. A drainage system turns that lower space into something more useful, whether that's basic storage, a cleaner walkway, or a covered patio area.
The broad planning number most Utah homeowners use is $9 to $25 per square foot for professional installation. That's a budget range, not a fixed price. A straightforward rectangular deck with easy drainage access is one thing. A deck with stairs, multiple beam lines, odd corners, and finish details underneath costs more.
Practical rule: If the deck already exists and the boards are staying in place, most of the cost discussion starts with retrofit-friendly systems. If the deck is still being built, there are better options that can protect the framing more completely.
There are two basic ways these systems work:
- Above-joist style systems catch water before it reaches the framing.
- Below-joist style systems catch water after it drips through the deck surface.
That difference matters for both price and performance. It also affects whether the project makes sense as a DIY job or whether it should be built into the original deck plan.
Homeowners who are also deciding whether they need overhead weather protection, not just under-deck drainage, may find this deck roof installation guide useful because it solves a different problem than drainage alone. For drainage-specific planning, the best starting point is this expert guide on deck water management.
Key Factors That Determine Drainage System Costs
Price changes for a reason. Under deck drainage system cost isn't just about square footage. It's about what has to happen on that specific deck to collect water, move it correctly, and leave a result that still looks clean from below.
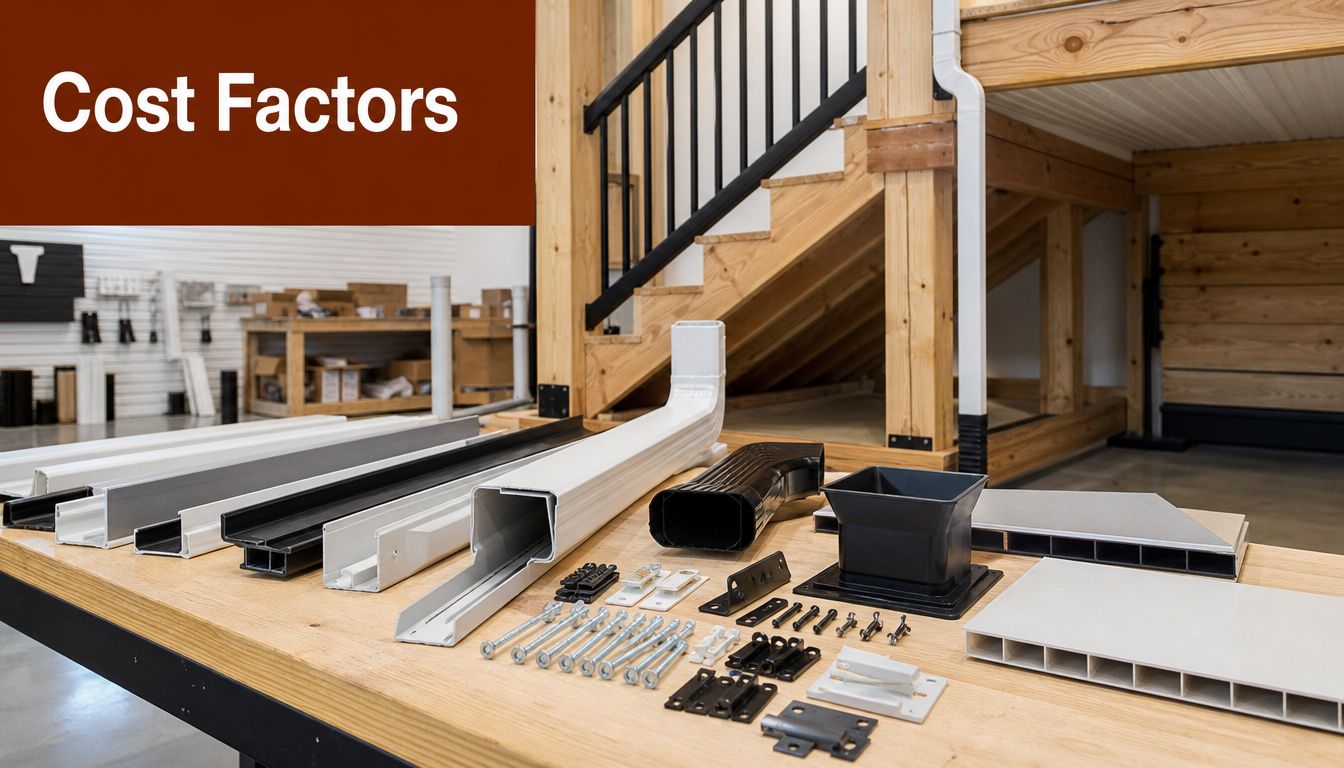
Material choice matters first
Some systems use formed troughs or channels. Others rely on broader panel or membrane-style components. Some are aimed at new deck construction, while others are built to retrofit below an existing frame.
Cheaper material options can work, but they often come with trade-offs:
- Thinner components can sag if they're not supported well.
- Simpler retrofit parts may leave more of the framing visible.
- Lower-end finishes often look more utilitarian than finished.
More advanced systems usually cost more because they handle water more predictably, fit cleaner around obstructions, and support a better-looking underside if the space is meant to function as a patio.
Labor can swing the number fast
A basic deck with open access underneath is much easier to work on than a tight site with low clearance, landscaping in the way, or a lot of framing interruptions. Labor rises when crews spend more time fitting around posts, beams, rim areas, stair connections, electrical runs, and drainage exits.
That's why square-foot pricing can only take a project so far. Two decks with the same footprint can land in different budget ranges if one is simple and the other is full of interruptions.
Good drainage work is mostly about slope, transitions, and terminations. The system itself may look simple. The details are where bad installs fail.
Deck shape and drainage path
Rectangular decks are the easiest to price. They usually let water run in a predictable direction to a gutter or collection edge. Multi-level decks, curved layouts, and decks with inset features require more custom fitting.
A few common cost adders include:
- Posts through the drainage plane that need careful sealing and trimming
- Stairs that interrupt water flow and limit layout options
- Low-clearance areas where pitch is harder to achieve
- Long runs that need a clean discharge point away from the foundation
The same logic shows up in other drainage work too. Homeowners comparing site-water solutions may also want a broader look at how much drainage tile installation costs, since water control around the home often overlaps.
New construction versus retrofit
This is one of the biggest budget separators.
If the deck boards aren't installed yet, an above-joist drainage layout is often the cleaner solution. It integrates into the build and can do a better job protecting framing members from repeated moisture exposure. If the deck is already finished, a below-joist system usually makes more sense because nobody wants to tear off a good deck surface just to add drainage.
For material planning across the whole build, this DIY deck project budget guide helps put drainage in context with fasteners, framing hardware, joist tape, flashing, and the rest of the supply list.
Comparing Under Deck Drainage System Types
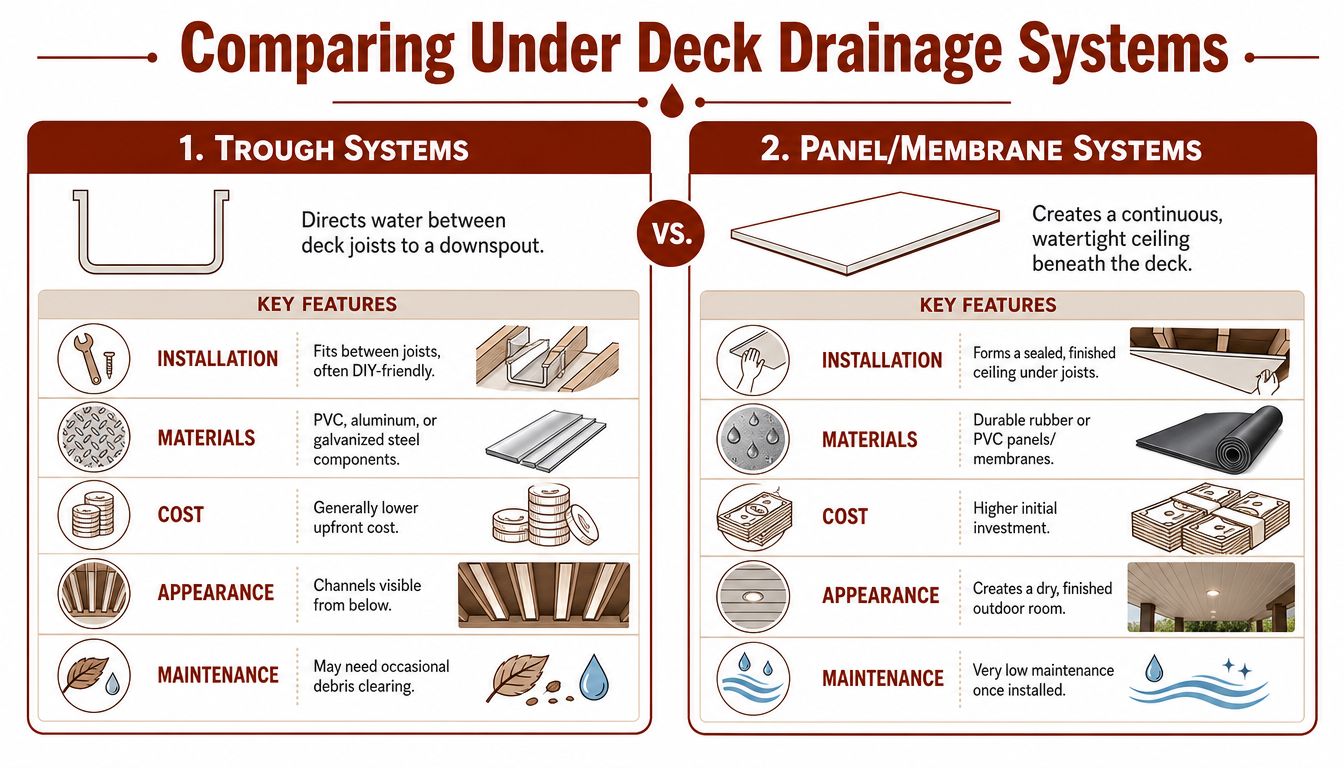
There are two main categories homeowners usually end up choosing between. One installs between or above the joists before the deck surface goes down. The other installs below the joists after the deck is already built.
Trough systems
Trough systems channel water along the framing bays and direct it toward a gutter or drain edge. They're commonly used when the deck is being built or rebuilt, though some versions can be adapted in retrofit situations.
They tend to make sense when the priority is keeping water off the framing as much as possible. They also work well when the finished look below matters, because the drainage can be planned before the boards go on.
A common example in this category is Trex RainEscape, which is known as an above-joist style option.
Panel systems
Panel systems mount below the joists and catch water after it comes through the decking gaps. This makes them practical for existing decks where the top surface is staying put.
They're often the easier route for a homeowner who wants a dry area below without rebuilding the deck. The trade-off is visual. Depending on the system, the underside may still show channels, sloped panels, or support components unless a separate finished ceiling treatment is added.
For an existing deck in Sandy, Draper, or South Jordan, below-joist systems are usually the first thing to price because they avoid demo. For a new build, above-joist systems deserve a hard look before the first board goes down.
Drainage System Comparison Table
| Feature | Trough Systems (e.g., Trex RainEscape) | Panel Systems |
|---|---|---|
| Best timing | New deck build or major rebuild | Existing deck retrofit |
| Location | Between or above joists, below deck boards | Attached below joists |
| Appearance from below | Cleaner base for a finished underside | Drainage components may remain more visible |
| Framing protection | Better protection for joists and framing | Helps dry the area below more than the framing itself |
| DIY friendliness | Less DIY-friendly on finished decks | Usually more DIY-friendly |
| Maintenance | Needs clean water path and proper termination | Needs occasional debris checks and gutter cleaning |
| Budget direction | Often higher when retrofitting | Often more approachable for retrofit work |
Which type works best in Utah
Utah weather makes system choice more important than it would be in a milder climate. Snow sits. Melt cycles happen. Wind blows debris into spaces that looked clean in July. That means the best system isn't just the cheapest one on paper.
For Wasatch Front conditions, these are the practical decision points:
- Choose above-joist systems when the deck is new and framing protection matters.
- Choose below-joist systems when the deck is already complete and access from underneath is good.
- Be careful with low-slope installs because snowmelt exposes drainage mistakes that light rain may not.
- Plan discharge points well so runoff doesn't dump beside the foundation or onto a walkway.
DIY vs Professional Installation Costs in Utah
Some drainage jobs are reasonable DIY projects. Some aren't. The dividing line is usually access, framing complexity, and how much rework the homeowner can afford if water ends up going the wrong way.
Take a typical raised deck in Sandy or West Jordan. It might be large enough for a seating area above and a patio below, but still have the common obstacles: support posts, a beam drop, and a path where water needs to exit without soaking the house side or splashing next to the foundation.
What DIY usually includes
A homeowner doing the work personally may save on labor, but the material list is wider than many people expect. It's not just the drainage pieces.
A solid DIY list often includes:
- Drainage components sized for the joist bays and deck layout
- Termination and collection parts to move water to the edge
- Compatible fasteners approved for the materials in the system
- Joist tape and flashing details where the deck build calls for them
- Sealants or closure pieces if the design requires transitions around posts or edges
- Basic tools and access equipment for overhead work
That last item matters. Overhead installation slows people down. Even on a simple deck, working above shoulder height while trying to keep slope consistent is where a lot of DIY plans get less fun.
What professional installation buys
Professional installation usually costs more because it includes labor, layout, corrections for site conditions, and responsibility for getting the drainage path right. That's not a small thing on decks with multiple problem points.
A contractor also tends to spot issues before the drainage goes in:
- framing that's out of plane
- attachment points that interfere with slope
- old fasteners or hardware that should be addressed first
- discharge locations that will create splashback or pooling
If the deck has stairs, multiple posts, or little room for pitch, the cheapest install often turns into the most expensive fix.
For homeowners trying to decide which path fits their project, this guide on understanding your deck installation options is a useful read.
A practical Utah decision rule
DIY tends to make the most sense when the deck is straightforward, the homeowner is comfortable with layout work, and the goal is function over a polished ceiling finish. Professional installation tends to make more sense when the lower area will become real living space and the drainage has to look clean, perform through snowmelt, and tie into other finish details.
That's especially true on the Wasatch Front, where winter conditions expose sloppy work. A system that manages a summer thunderstorm can still fail when snow sits, melts slowly, refreezes, and tests every seam and slope line.
Budgeting for Your Project and Long-Term ROI
A lot of homeowners on the Wasatch Front get the full cost picture only after the deck is built, the patio below stays wet, and the space they wanted to use turns into storage for things that can handle water. Drainage is cheaper to plan on paper than to add after finishes, concrete work, lighting, or a ceiling treatment are already in place.
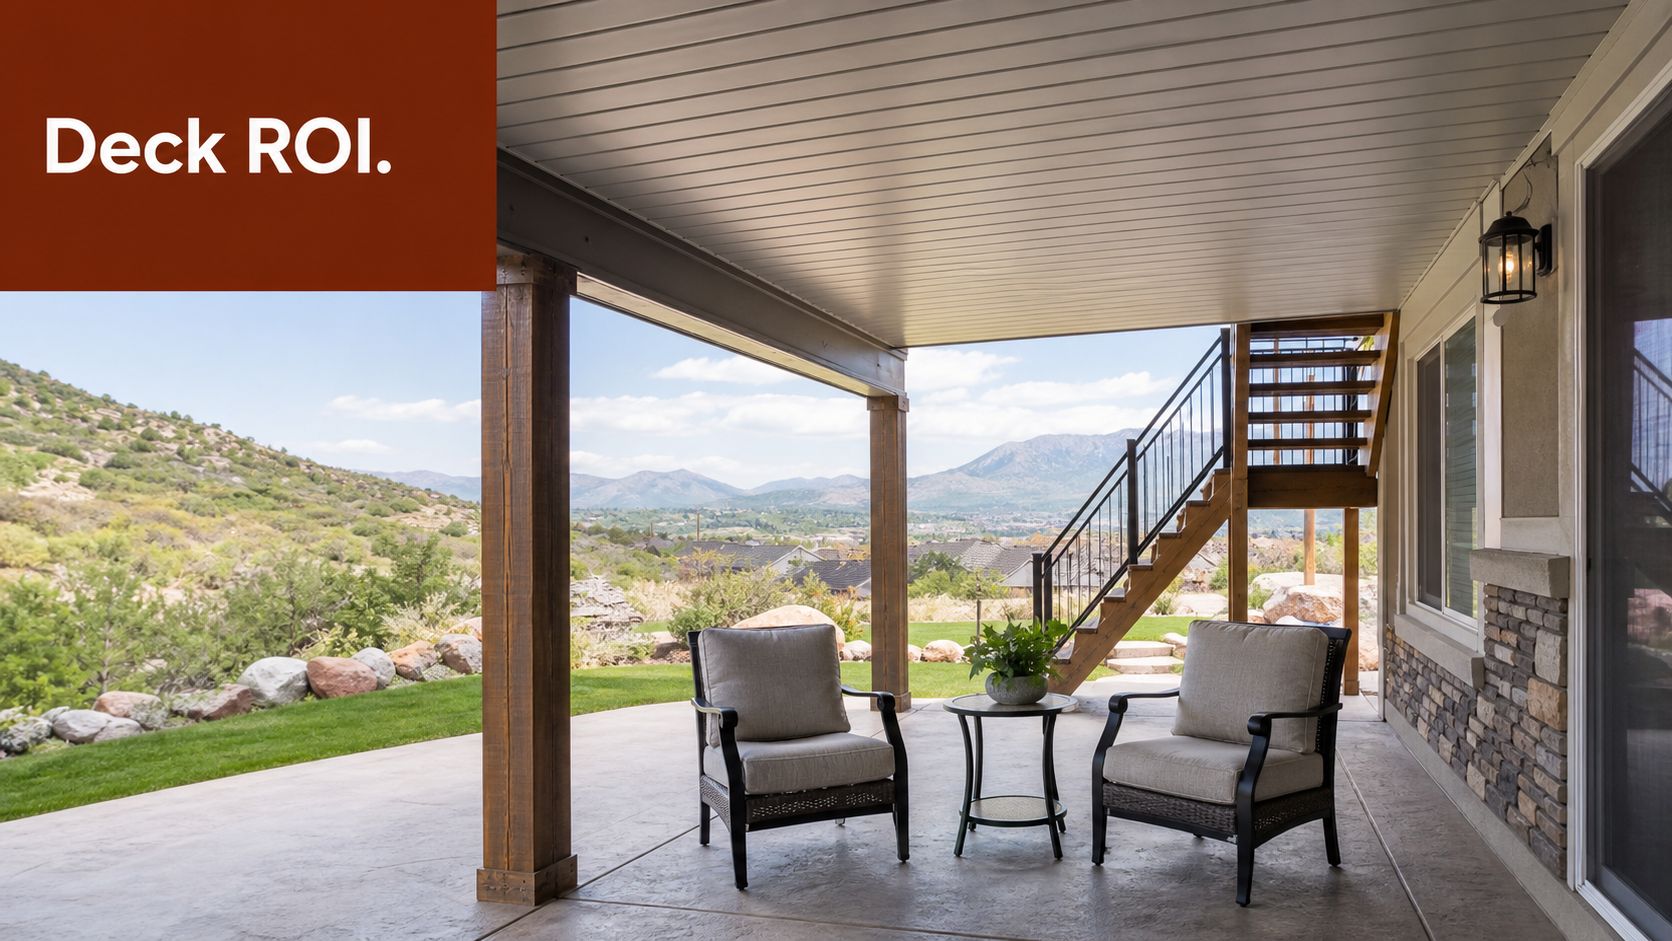
A dry lower patio gives you usable square footage. That can mean basic storage, a seating area, or a grill zone where local code and manufacturer instructions allow. In Utah, that added function matters because outdoor living season is valuable, and a covered space below a deck often gets used far more than homeowners expect.
Budget smarter by deciding early
The best time to budget for drainage is before the deck package is finalized. That does not mean every project needs it. It means you should decide early whether the space below is supposed to stay dry, look finished, or just keep runoff off the patio.
That choice affects the whole budget. Waiting usually creates extra cost in places homeowners do not plan for:
- Removing deck boards or trim to retrofit parts that could have been installed first
- Reworking soffit, fascia, or ceiling finishes after the drainage path is set
- Changing discharge locations after concrete, lighting, or other patio details are already installed below
On new builds, I usually tell customers to price drainage at the same time they price decking, flashing, framing hardware, and railing. That gives a truer project number and keeps the drainage system matched to the deck instead of patched in later.
Long-term return depends on the goal
Return on investment is different for every deck. If the area below is only meant to keep a few items dry, a simpler system may do the job. If the plan is a finished patio with lighting, fans, ceiling panels, or a cleaner appearance from below, the drainage choice needs to support that finish level from day one.
That is where cheap systems can get expensive. A lower-cost option may still leave you with visible troughs, harder cleaning, awkward water discharge, or limits on what you can build underneath later.
Homeowners looking at the broader resale picture can also read more about how a new deck adds value.
Utah weather changes the math
National averages only go so far here. Utah projects need room in the budget for conditions that put more stress on drainage systems, especially along the Wasatch Front where snow sits, melts slowly, and tests every low spot and connection.
A good budget should account for:
- Snowmelt management, not just summer rain
- Proper pitch and discharge, so water does not dump near siding, foundations, or walking areas
- Debris cleanup and maintenance access, especially under decks with trees nearby
- Materials that hold shape well, instead of sagging or trapping water over time
Those details affect service life, cleanup, and whether the lower patio stays usable. They also affect whether you end up paying once for the right system or twice for a replacement and repairs.
Protecting the deck structure matters too
Drainage is not only about comfort below the deck. It also helps manage how much water moves through the framing zone and where that water ends up. The exact benefit depends on the system, the slope, and the install quality, but in practical terms, controlled water is easier on the whole assembly than water that drips everywhere.
For budgeting, that means the cheapest number on day one is not always the lowest ownership cost. A system that fits the framing, handles Utah weather, and drains to a safe location usually gives the better return over time.
Get an Accurate Under Deck Drainage Quote
Under deck drainage system cost comes down to three decisions. What type of system fits the deck, how complex the layout is, and whether the job is DIY or professionally installed. That's why one homeowner can price a simple retrofit and another ends up budgeting for a more complete built-in system with a finished patio below.
For existing decks, the practical starting point is usually a below-joist option that can be installed without tearing off the deck boards. For new decks, it's worth pricing a system that integrates with the framing package from the start. In Utah, climate matters. Snowmelt, debris, and proper water discharge all need to be part of the material choice.
A showroom visit helps more than scrolling product photos. Seeing drainage components, hardware, fastener options, and compatible deck materials in person makes it easier to understand what belongs in the quote and what doesn't. Homeowners and contractors can also use this link to get a decking quote and price the drainage system alongside decking, railing, framing hardware, joist tape, flashing, screws, and finish details.
The next step is simple. Measure the deck, decide whether the lower area is meant to be basic dry storage or a finished outdoor room, and price the right system for that goal.
For homeowners, contractors, and DIY builders along the Wasatch Front, Utah Deck Supply in West Jordan is the place to sort out the material side of the job without guessing. The showroom serves West Jordan, Salt Lake City, Salt Lake County, South Jordan, Sandy, Draper, Herriman, Lehi, Ogden, Provo, and surrounding Utah markets with decking, railing, hardware, drainage, fasteners, joist protection, and shade-structure materials. Call 385-993-5492 or request a quote to get help with a deck supply list that fits the project.