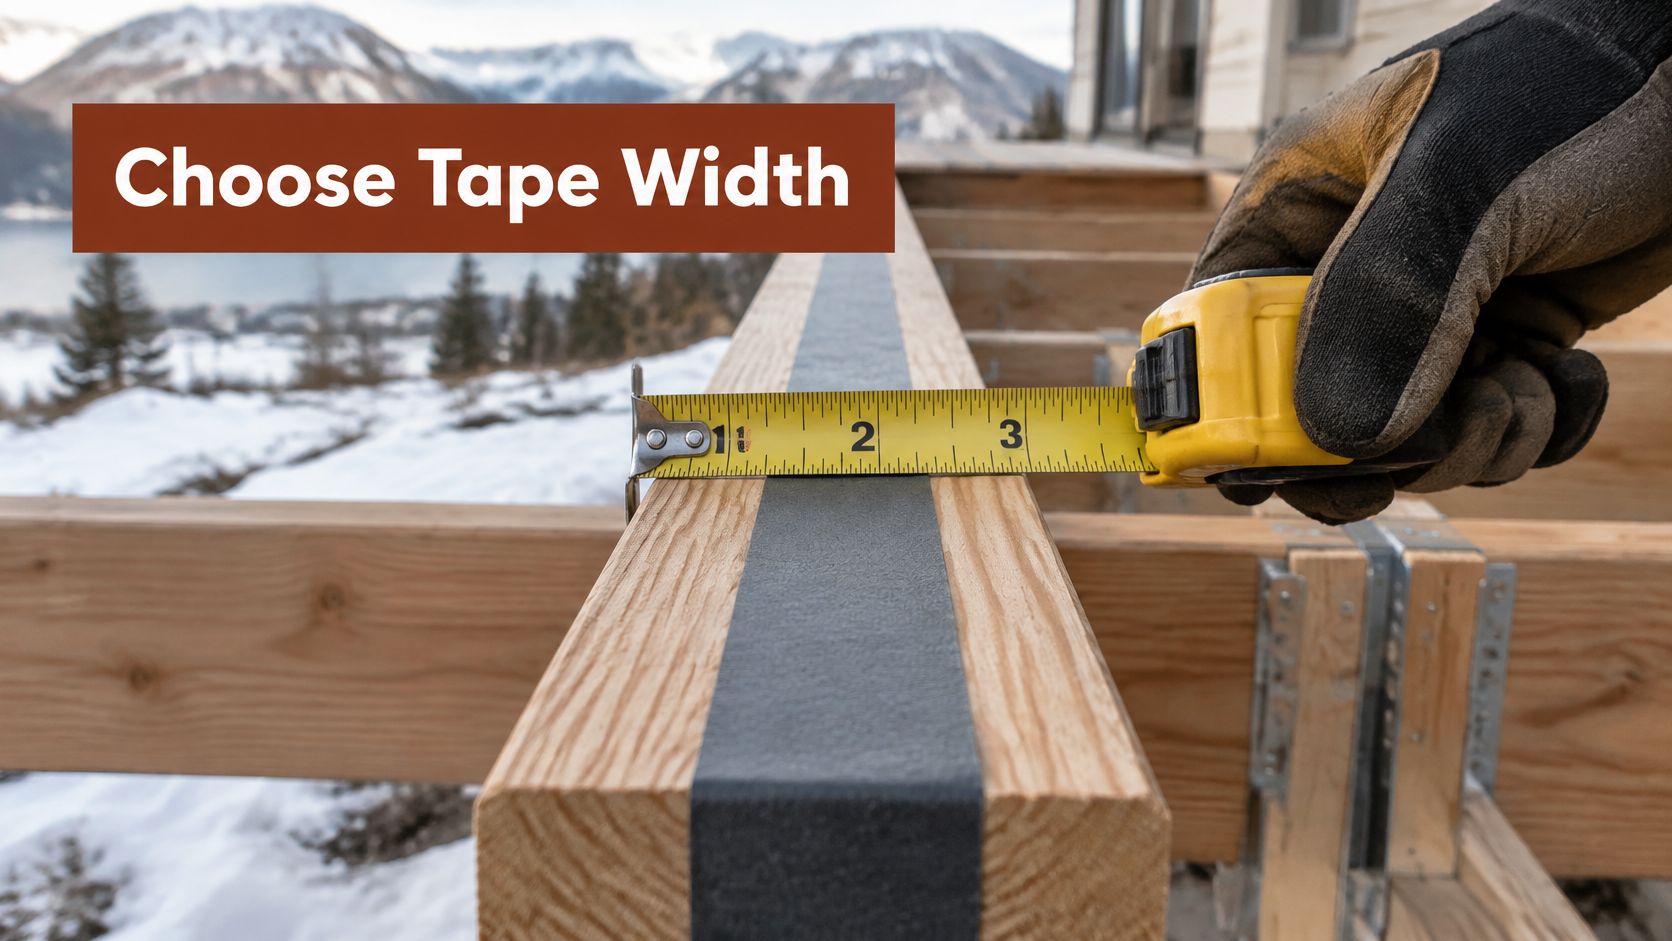
For a single 1.5-inch joist, 1-5/8-inch tape is the close fit, 2 to 2.5 inches adds side overhang, and about 3-1/4 to 4 inches is the starting range for doubled members and many beams. How to choose joist tape width starts with that split, then a tape measure on the actual wood, not the lumber stamp.
A homeowner in South Jordan or Draper walks the frame after a spring melt and sees dark stains where the screws will land. The boards aren't down yet. This is the moment the roll width gets decided, before hidden clips or face screws lock the tops in place.
The stamp on a nominal 2x8 says two inches. The milled top is narrower. A roll that looks generous in the aisle can wrinkle on a single joist or leave a wet strip beside a sistered pair. Wider tape isn't automatically safer. House-ledger flashing stays its own detail, not a reason to buy the widest roll on the shelf.
Measure the Member Before You Choose a Width
After snow leaves a Wasatch Front frame, dark lines often sit on joist tops at fastener points, and meltwater meets bare wood. Tape width is a coverage choice, not a brand name on the carton.
A nominal 2x8 or 2x10 is typically milled to 1.5 inches of actual wood. The DeckWise butyl and asphalt install guide treats 1-5/8-inch joist tape as a common choice when the goal is a top cap with a small amount of coverage at each edge. The stamp on the lumber is the wrong measuring stick.
Walk the frame with a tape measure
- Measure the top face. Put a tape on the actual top of each piece, not the nominal stamp.
- Label the piece. Mark it as a single joist, doubled joist, beam, rim, flat blocking, or a cut around a post or hanger.
- Pick the coverage goal. A close cap on a single joist starts at 1-5/8 inches. Use 2 to 2.5 inches when the strip should turn slightly down both upper edges. Use about 3-1/4 to 4 inches for doubled members and beams.
- Center the planned strip. Neither edge should stay bare. That same install guide says the tape should be centered so water moves away from fastener penetrations and the bond reaches both edges.
- Check hardware clearance. Extra width shouldn't stack into a joist hanger, block a connection, or wrinkle on a narrow face. Excess width can create folds that interfere with hanger hardware, blocking, or decking installation.
- Plan end joints from the sheet. Brands differ on overlap. Read the printed sheet for that roll before a second width goes on the list.
- Switch widths where the framing changes. Buy the narrowest width that meets the goal for that member.
Practical rule: Actual joist width, not the nominal label, is the starting point. Clean, dry wood matters as much as the number on the roll, because sawdust, oil, grease, debris, wet lumber, or frost can stop the adhesive.
Whether the tape is only a top cap or is meant to wrap the upper sides changes the roll. After placement, firm hand pressure or a small roller presses out wrinkles and air pockets.
Joist count follows the decking maker's spacing rules and deck lumber span limits by species. Those limits change how many pieces of deck framing lumber get a strip. They don't change how wide each strip should be. Keep the measurements and a simple sketch together before any lookup table.
Tape Widths for Joists Beams and Ledgers
A joist may be labeled as a nominal 2x, yet its measured top is typically 1.5 inches wide. Choose tape from that actual face, then add only the side overhang you want. The table gives practical starting points; check the tape maker's instructions for the specific product.
| Framing member | Typical actual top | Tape width to start with | Coverage goal |
|---|---|---|---|
| Single nominal 2x joist | 1.5 in | 1-5/8 in close fit; 2 to 2.5 in for side overhang | Center it and turn slightly down each side when the product allows |
| Doubled or sistered joist | About 3 in | About 3-1/8 to 3-1/4 in; up to 4 in if needed | Cover the full combined top with no bare edges |
| Built-up beam | 3 in or more by ply count | 3 to 4 in, wider if the face is wider than 3 inches | Full top coverage without wrinkles or hardware clash |
| Rim joist | Often 1.5 in | 2 to 2.5 in, or 3 to 4 in only if the detail is wider | Continuous cap on the exposed top edge |
| Ledger at the house | Not a tape-only detail | Do not substitute joist tape for flashing | Use the required metal or approved plastic flashing detail |
| Flat blocking | Measure the piece | Measured width plus planned side overhang | Same coverage rule as joists |
| Posts, cuts, and penetrations | Local opening | Patch wider than the cut | Lap onto sound tape; do not butt ends |
Single joists
The TimberTech joist, blocking, and spacing guide identifies 1.625-inch tape as a close fit for a nominal 2x joist, leaving about 0.0625 inch of lateral overhang per side. That narrow margin caps the top without making a deep wrap. For more side coverage, the guide gives about 2.5 inches as a wider option, subject to the tape maker's instructions.
A wider strip helps when it bonds to clean wood and provides the planned coverage. Center it on the joist; pressing it firmly with a hand roller helps remove wrinkles and air pockets. Dust, moisture, and folds can interfere with adhesion, so prepare the surface as directed for the product.
Doubled members and beams
Doubled or sistered joists are about 3 inches across, making roughly 3.25 inches a practical starting width in the same guide. It spans the combined top while allowing a small side overhang. For built-up beams, choose from the ply count and measured face: 3 to 4 inches works as a starting range, with more width only when the face exceeds 3 inches. Keep the strip flat, with room for the framing hardware.
Rims, ledgers, blocking, and cuts
A rim joist is often 1.5 inches wide, so a 2 to 2.5-inch strip can provide some side coverage. Flat blocking follows the same measured-width rule as a joist. For posts, cuts, and penetrations, use a patch wide enough to extend onto tape that is already bonded; a lap covers the joint, while butted ends leave a seam.
The ledger is a separate detail. Joist tape on its top does not replace the metal or other approved flashing required at the house connection. Include that flashing alongside the connectors and hardware for deck posts and railings.
Tape width sets coverage, while thickness is a separate product specification. Confirm both on the tape instructions, including any overlap guidance, before choosing a roll.
Where Width Changes on Real Deck Framing
A tape strip that fits one joist may leave gaps on a doubled member. Measure each framing face, then choose a roll that covers its width with the planned side overhang. Wider is not automatically safer: tape that wrinkles or lifts cannot provide reliable coverage.
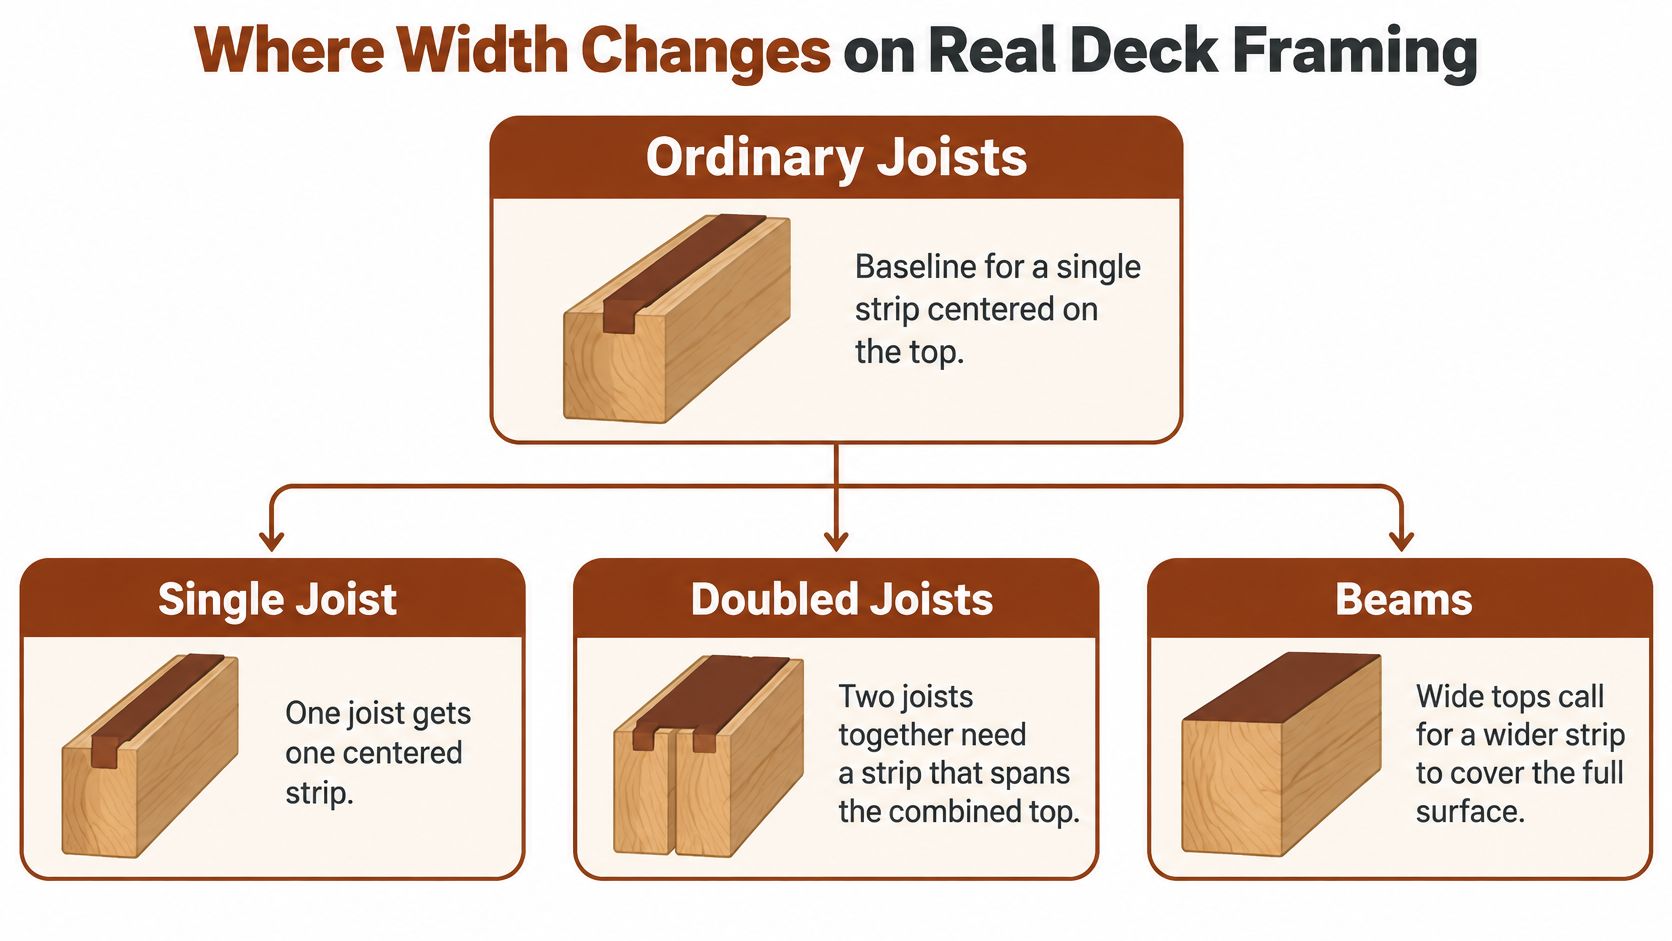
Doubled joists and built-up beams need tape sized for the combined top, not one member alone. Rim boards and stair stringers can vary in width or shape, so measure each face rather than relying on a nominal lumber label. A small turn-down over a top corner may be useful when side coverage is part of the plan. Flat blocking follows the same rule: measure the face and allow for the intended overhang.
Patches at posts and cuts
At posts, hanger cuts, and other openings, size a patch so it extends beyond the cut and overlaps tape already bonded to the wood. A butt joint leaves a seam where water can collect. Treat these interruptions as part of the layout, especially where snowmelt can reach exposed framing.
Keep adhesive and flashing details clear
Joist tape covers framing tops. The house-ledger connection requires its own flashing detail, so don't try to solve it by buying a wider roll. Use the specified flashing material and follow the applicable product instructions and local requirements.
Check each roll's adhesive type against the product sheet before ordering. Confirm that the adhesive suits the wood and intended application, then follow the maker's directions for surface preparation and exposure limits. The label alone doesn't establish whether a product is suitable for a particular detail.
Deck board span and deck joist layout for Utah snow loads should be checked against decking instructions and local building requirements. Joist spacing determines how many framing tops need coverage, while tape width is chosen for each member's measured face and planned overhang.
Utah Weather Checklist Before the Boards Go Down
Buying the right width and sticking it down are different jobs. On the Wasatch Front, freeze-thaw cycles, snowmelt, dry spring air, and hot summer framing can all land on one project. Use each line as a pass-or-stop check. Stop at the first failure.
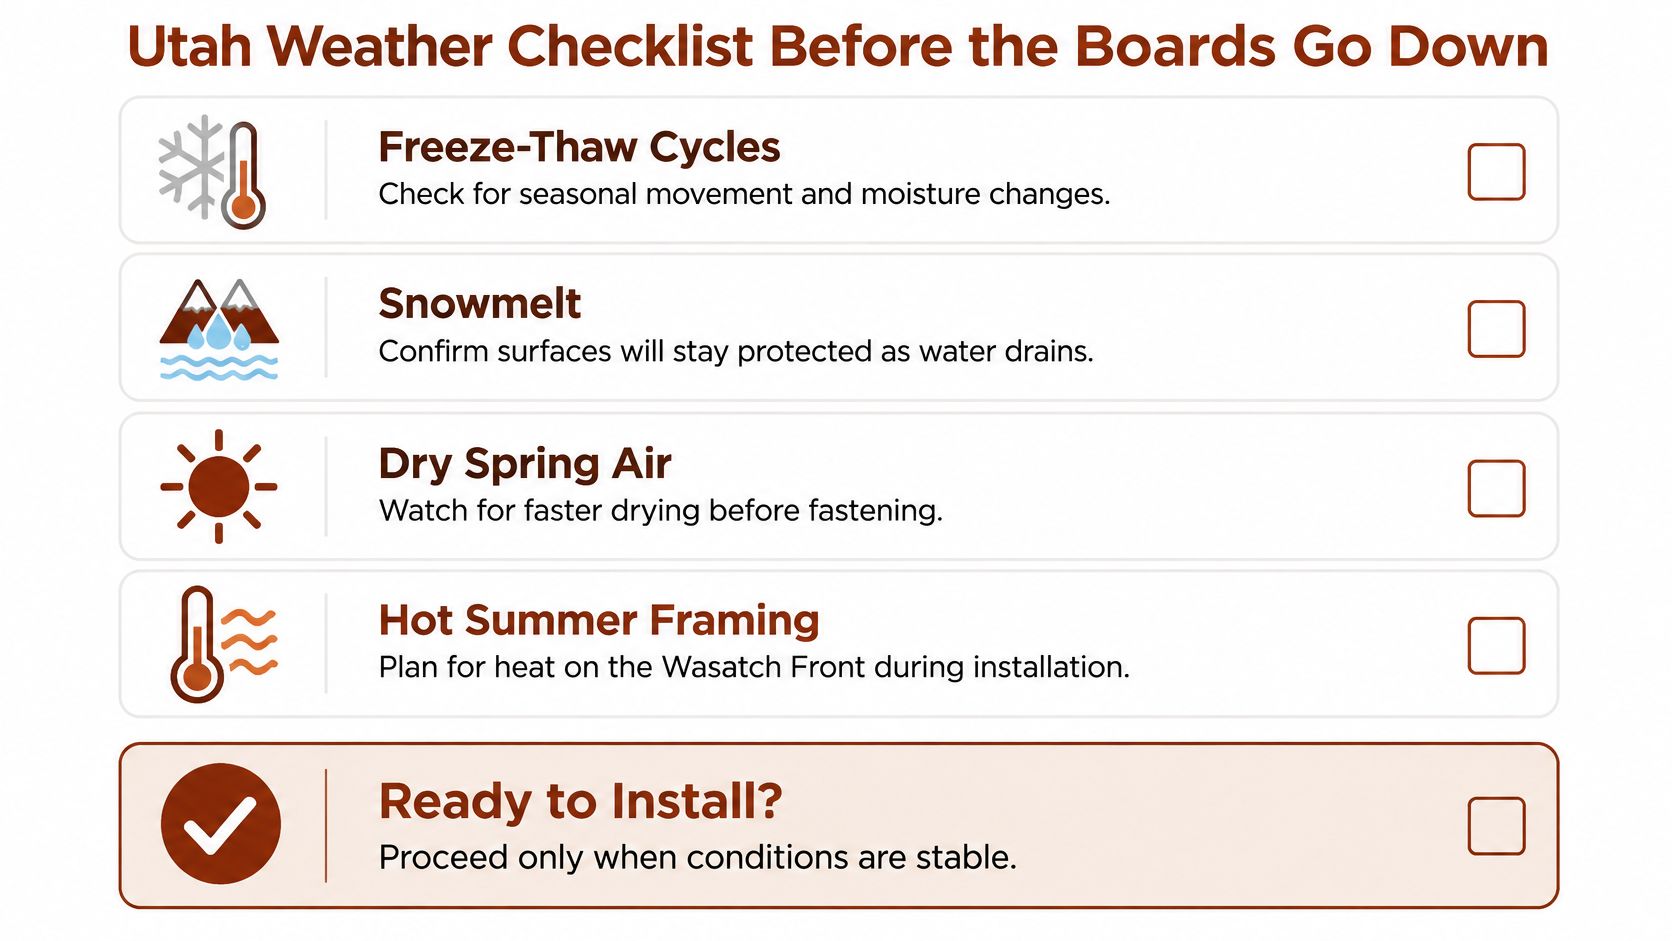
| Check | Pass looks like | Stop if |
|---|---|---|
| Surface | Clean, dry wood | Sawdust, oil, wet lumber, frost, or snow |
| Substrate temperature | Inside that product's printed range | Colder or hotter than the sheet allows |
| Pressure | Full-width roller or firm hand pressure | Wrinkles, loose edges, or air pockets |
| Overlaps | Ends lapped per the product sheet | Pieces butted edge to edge |
| End grain and cuts | Fresh cuts capped before decking | Bare end grain left open |
| Final look | Tape flat on joists, doubles, rims, and patches | Lifted tape that decking would hide |
The DeckWise double-joist application sheet treats width as coverage, not cosmetics, because framing gets wet at fastener penetrations, joints, and horizontal wood. It also notes common decking spacing of 16 inches on center, with some maximum-width products allowing up to 24 inches, and 12 inches or less when a stiffer feel is the goal. Those milestones change the takeoff. They don't change this checklist, and they don't change the rule that each top still needs continuous cover with enough width to turn slightly down both sides.
Numbers that stay on the sheet
Don't borrow a minimum temperature from another brand or from a Utah seasonal average. Apply only inside the range printed on that roll. Separate pieces should overlap rather than meet edge to edge. That sheet gives overlap ranges from at least 0.5 to 0.75 inch at outside edges to at least 2 or 3 inches at end-to-end joints, depending on the product. Cap fresh cuts and beam ends that will stay exposed before the boards go down.
A correct wide roll on a damp or cold joist protects less than a narrower roll that is fully stuck.
Walk every joist, double, rim, and patch and fix lifted edges before hidden clips or face screws lock the boards. This checklist isn't code approval. Confirm the sheet with the manufacturer and with local requirements before the decking covers the work.
Width Examples for Composite PVC and Wood Decks
The joist measurement stays put when the board brand changes. What changes is how the fastener hits that taped top.
A grooved composite or plastic deck, including Trex or TimberTech lines a homeowner is comparing, still sits on 1.5-inch joists. Hidden clips and plugs puncture the same face, so single joists stay in the 1-5/8 to 2.5 inch range and doubled beams move to the wider row. The Deckorators joist and flashing tape page puts common practice at about 1-5/8 to 2 inches for a single joist and 3 to 4 inches for doubled members, with about 3-1/8 inches called out for double joists or beams. A 1-5/8-inch strip on a nominal 2-inch joist, about 1-1/2 inches wide, is only minimal edge coverage. Extra width can fold over the upper sides, and it can also wrinkle or fight a tight decking tolerance.
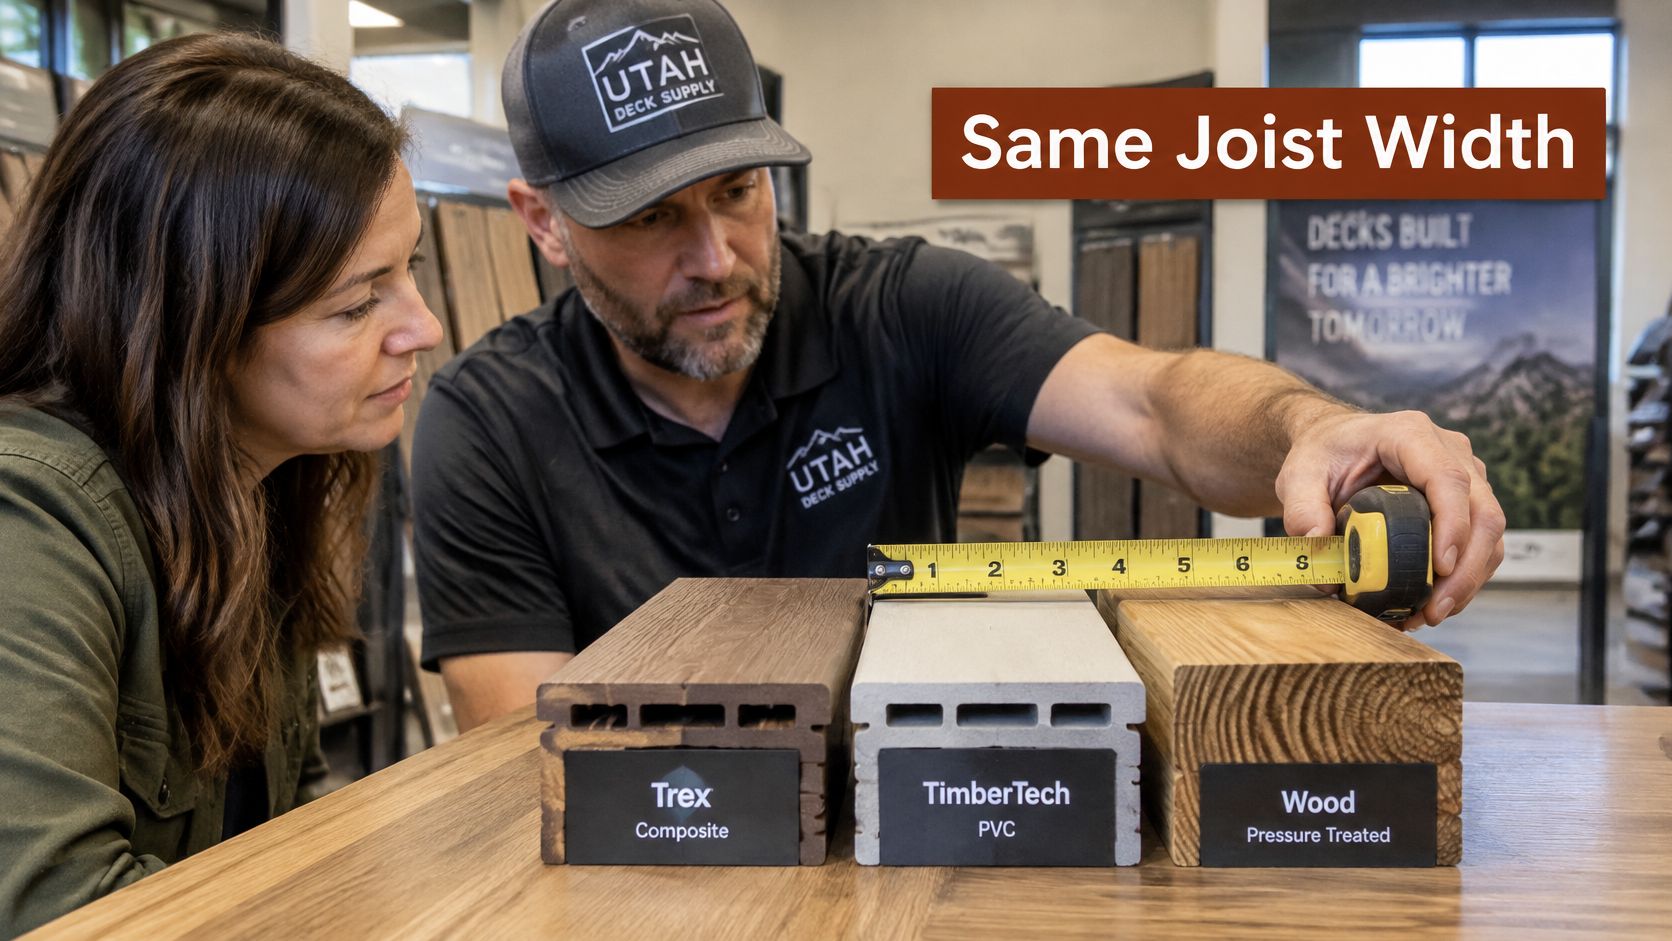
A PVC or advanced-polymer board doesn't let anyone skip tape. The frame is still the piece that gets wet at each fastener. A cedar or pressure-treated wood deck uses the same width rule. The board material doesn't turn a 3-inch double into a single-joist roll.
Fascia, picture-frame borders, and stair stringers are remeasure spots, not places to reuse the field-joist roll by habit. If aluminum deck boards come up in the comparison, Utah Deck Supply doesn't sell aluminum decking boards or aluminum deck planks. Aluminum railing is a separate product. The deck-board choices are composite, PVC, and wood, including the decking options for Utah temperature swings. Fastener compatibility and warranties stay with each manufacturer's instructions.
Confirm the Roll Width Then Request the List
Once the roll width matches the measured framing, keep the house-ledger flashing as a separate line item. That makes it easier to compare tape and flashing without assuming the widest roll solves both details.
For a board replacement on an existing frame, bring photos and measurements so the team can discuss board profile, hidden fasteners, fascia coverage, joist tape, and whether the frame is ready for new decking. Rough information is fine. To prepare a quote, bring dimensions or a sketch, photos showing access, stairs, railing, and height, and two or three board lines to compare. Include fascia, stair risers, skirting, and end details from the start.
Utah Deck Supply is a deck materials supplier and showroom in West Jordan, serving the Wasatch Front and broader Utah markets. Its supply list can include fasteners, fascia, post sleeves, caps, brackets, joist tape, stairs, and delivery details. Compare deck framing protection products with your measurements, or bring them to the showroom. You can request a deck materials quote or get help with your deck supply list.
Planning boards and joist protection together helps keep the quote focused on the full materials list, rather than the tape roll alone.