
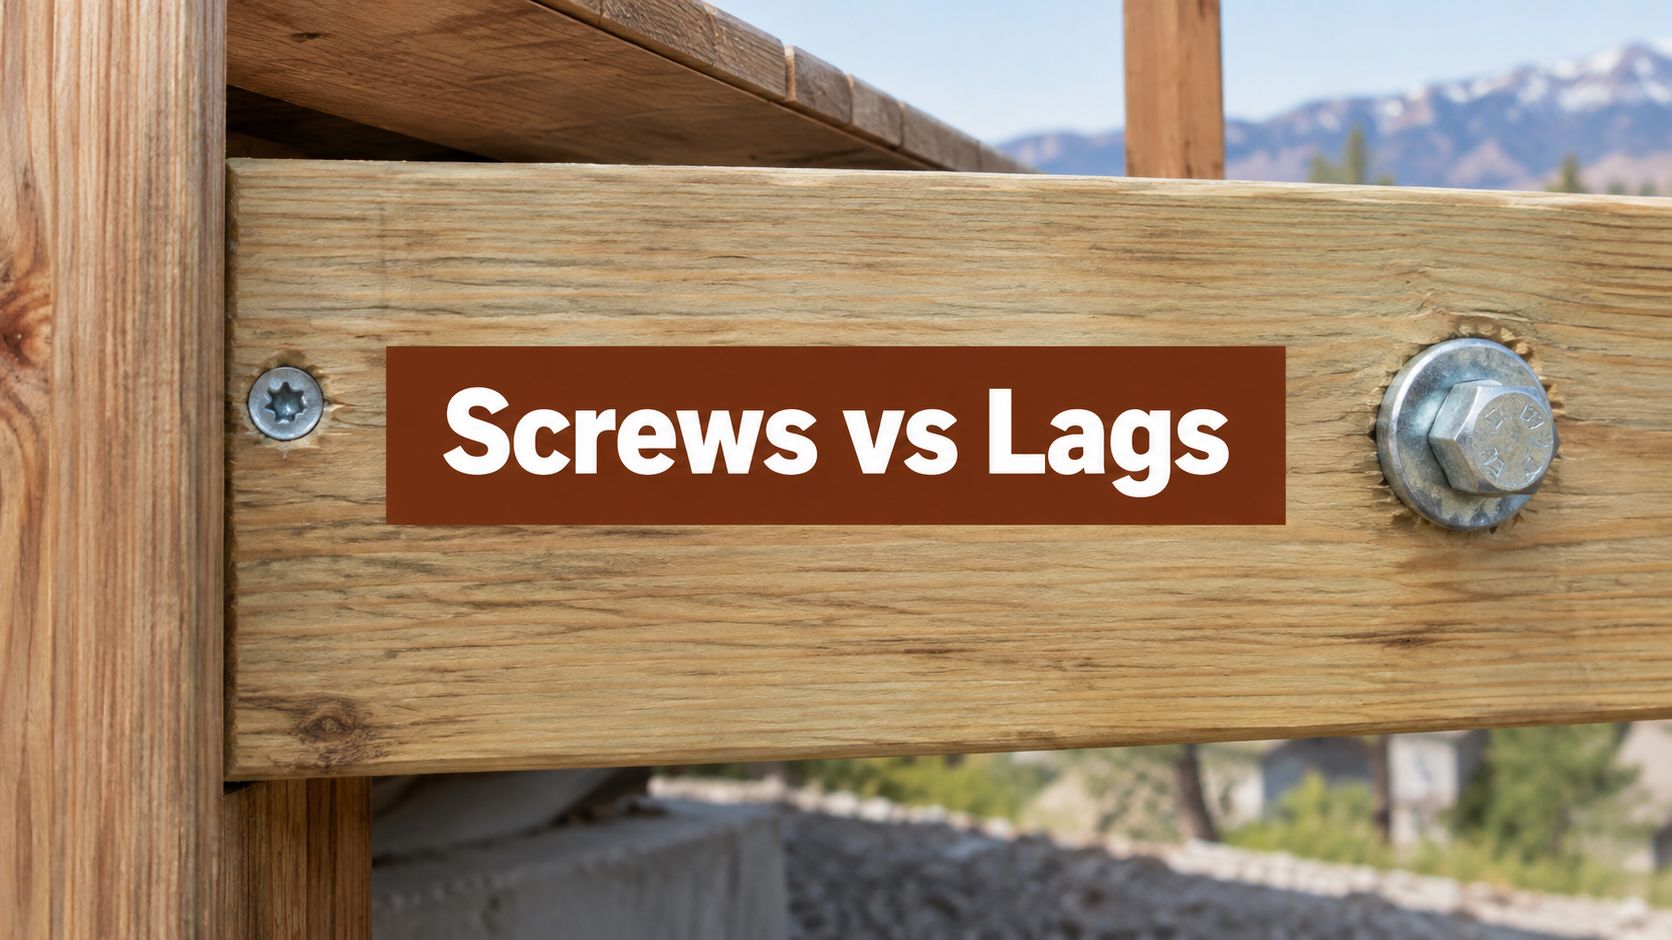
A faster fastener isn't automatically an approved ledger fastener. That's the common mistake behind many structural screws vs lag bolts for deck ledgers comparisons. Diameter and length alone don't make two products interchangeable. The governing schedule, pilot hole, spacing pattern, substrate and paperwork decide whether a connection passes inspection. For Utah builders, the practical task is simple to state and strict in practice. Confirm the exact listing before buying hardware, then install only the pattern that listing or code schedule allows.
Why Ledger Fastener Choice Is Governed by Code
A ledger carries deck loads into the house structure. A screw that drives quickly still needs recognition for that specific connection. Readers who compare nails and screws for joist hangers meet the same principle, because each scheduled connection has its own tested fastener.
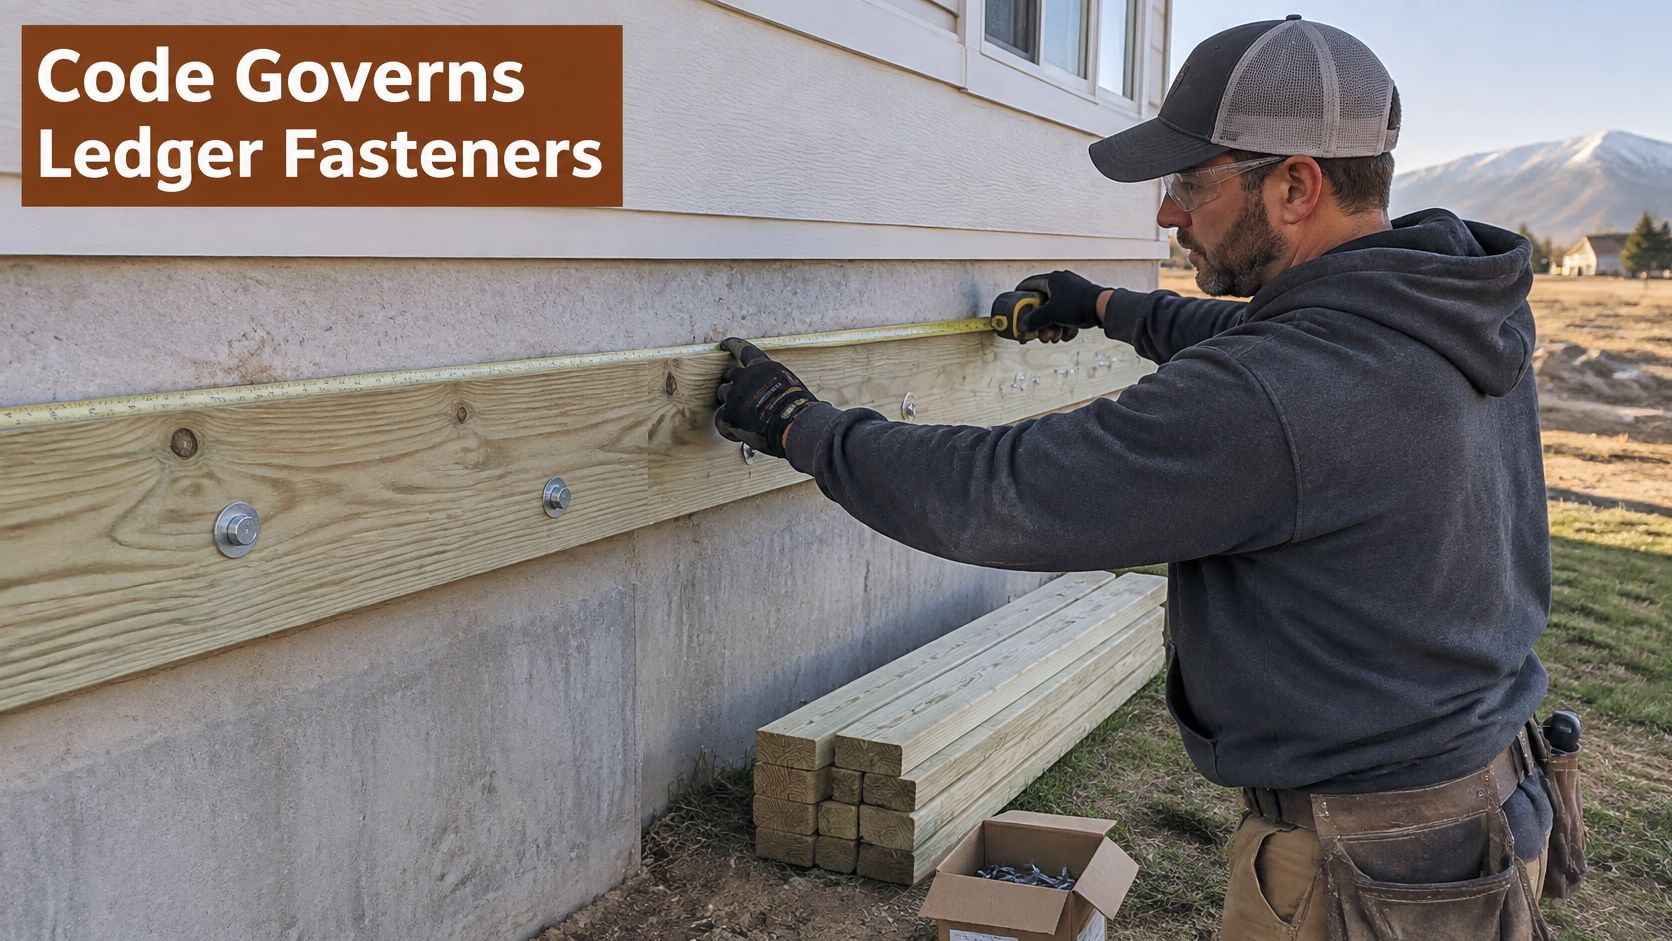
The International Code Council overview of deck connections states that IRC editions since 2000 have required positive anchorage, that the 2009 code prescribed 1/2-inch bolts or lag screws for ledger-to-band-joist connections, and that the resulting schedule was sized for 40 psf live load plus 10 psf dead load. Toenails or withdrawal-prone nails alone do not satisfy that requirement.
Where the Prescriptive Values Came From
Laboratory testing loaded pressure-treated ledgers attached to band joists until failure. Researchers reduced the average ultimate loads with safety and load-duration factors, and those reduced values became the allowable loads a builder reads in the table. Prescriptive tables describe tested assemblies that a builder can check against a schedule.
The schedule works like a recipe. Change the fastener, the member, or the pattern, and the tested combination no longer applies. That is why two fasteners of the same diameter can carry different approved spacing, different pilot requirements, and different paperwork.
A proprietary structural screw follows a different route. Its manufacturer evaluation report or engineering table must cover the ledger, rim member, pattern and installation method. Access, spacing, corrosion, failure modes and purchase checks all flow from that distinction.
Structural Screws and Lag Bolts Side by Side
The American Wood Council deck connection guidance describes the prescriptive approach as 1/2-inch-diameter hot-dip-galvanized or stainless-steel bolts or lag screws, with washers, staggered in two horizontal rows. A structural screw needs its own evaluated design rather than borrowed lag spacing.
| Criterion | 1/2-inch lag screw or bolt (prescriptive) | Listed structural screw |
|---|---|---|
| Installation access | Lag: from the ledger face with a socket; bolt: washer and nut access inside the rim | Usually driven from the ledger face, no interior nut |
| Holes required | Lag: 1/2-inch clearance hole in ledger plus 5/16-inch pilot in rim; bolt: through-hole in ledger, sheathing and rim | Manufacturer-specified pilot or self-drilling procedure |
| Installation steps | Locate, drill both holes, insert washer, drive or tighten, confirm tip passes the rim | Locate, drill to product spec, drive with product driver, follow the listed pattern |
| Listing documentation | Code schedule for 1/2-inch lags or bolts with washers, when all conditions are met | Manufacturer evaluation report or engineering table for that exact product |
| Substrate limits | Eligible structural rim or band joist; not siding or sheathing alone | Only the wood species and members listed in the evaluation |
| Spacing basis | Code schedule by joist span and fastener type | Product's own evaluated installation table |
| Corrosion options | Hot-dip galvanized or stainless steel per code, checked against lumber treatment | Coating class stated by the manufacturer, checked against lumber treatment |
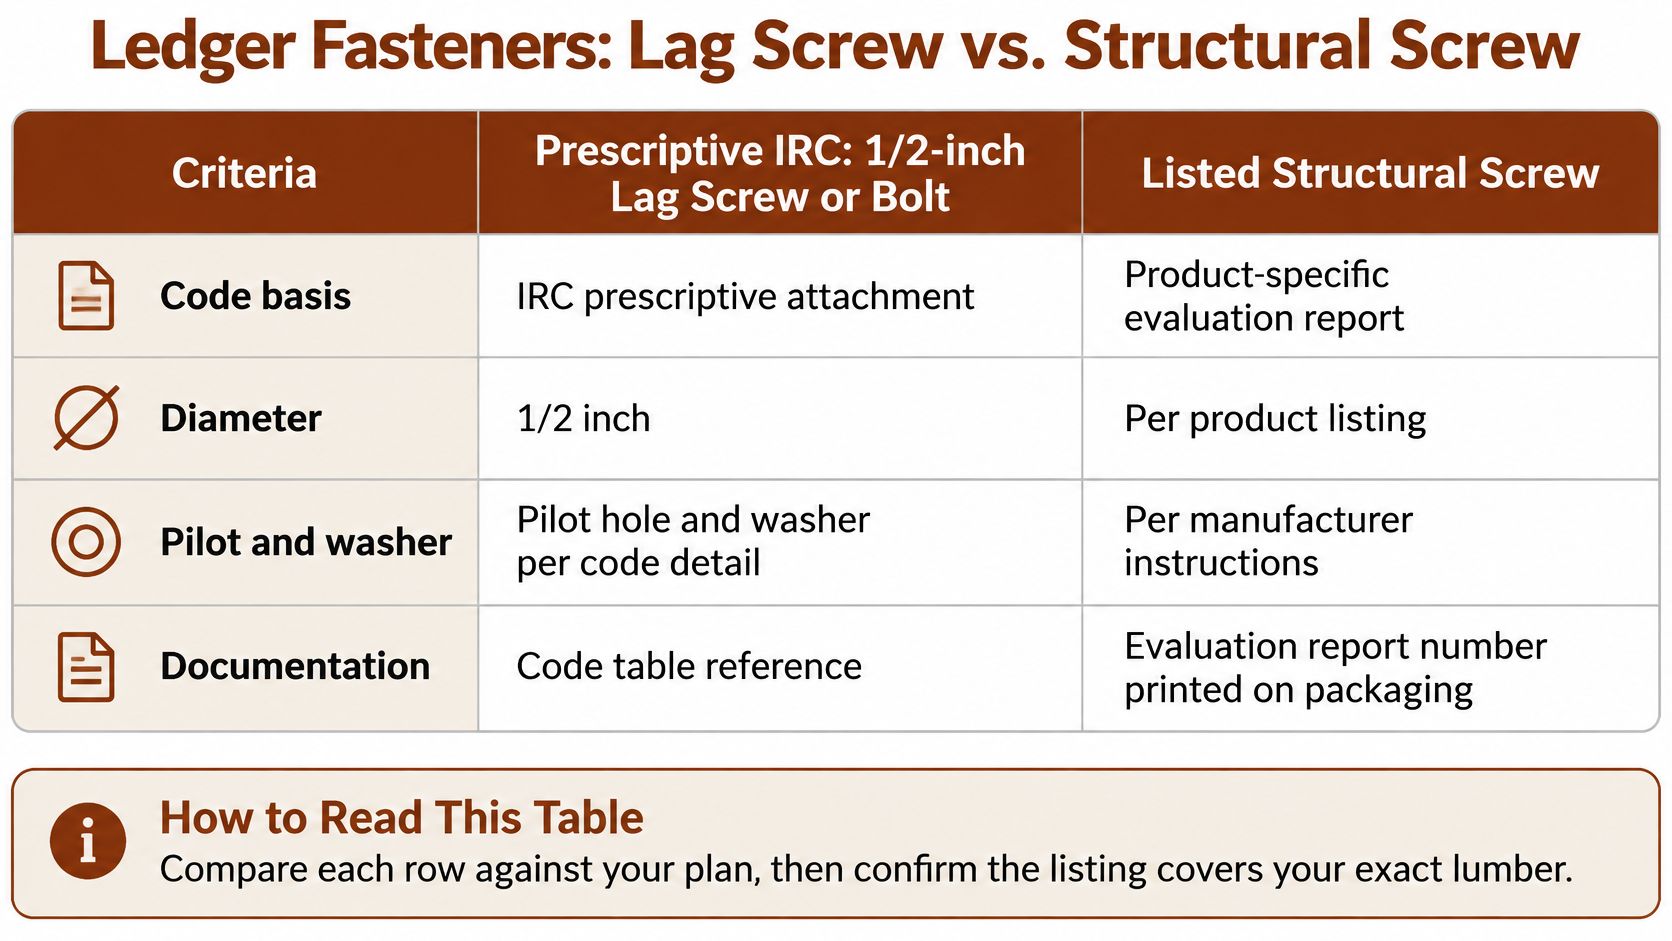
The table works as a map, not a specification. The approved schedule depends on the exact product and the complete wall-and-ledger assembly. Builders comparing broader deck connectors and fasteners should carry the same habit into every purchase. Product documents override general rows whenever the two differ.
Substrate Limits and Corrosion Coatings
The wall decides before the fastener does. A ledger has to land on an eligible structural rim or band joist; siding, sheathing alone and assemblies outside the code schedule or product evaluation do not qualify. I-joists, stone or brick veneer and other non-standard walls need a matching listing or an engineer's review before material is ordered.
Check Compatibility in Order
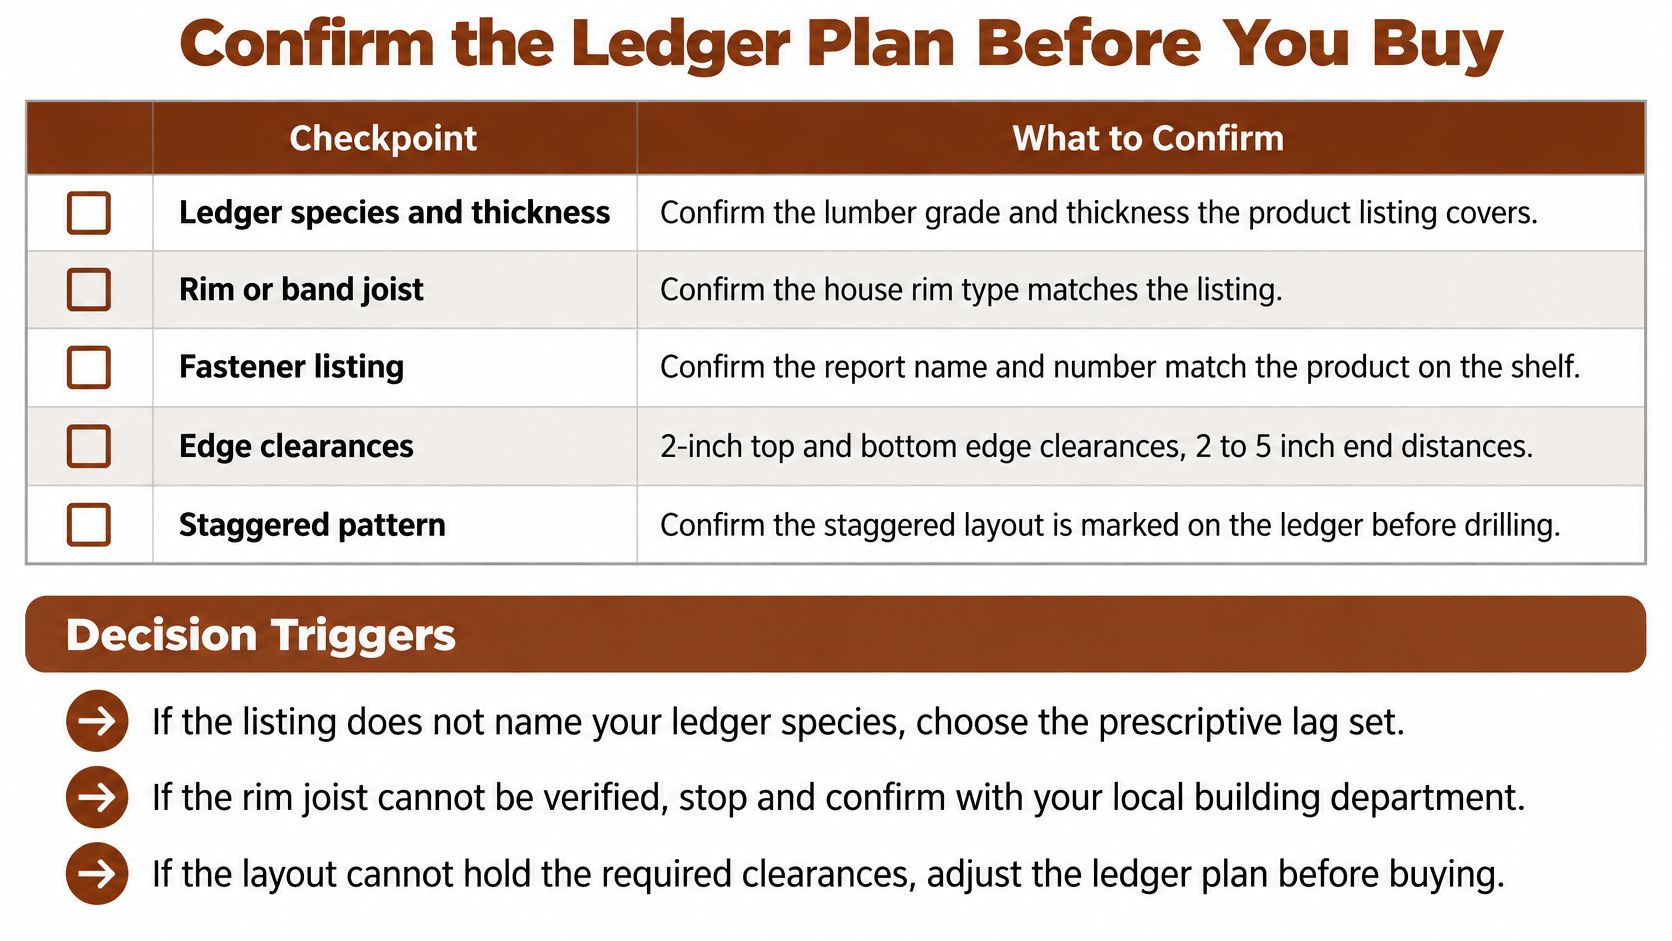
- Confirm the rim member. Species, thickness and grade should match the plan and the listing.
- Confirm preservative treatment. Check the ledger and the rim, because both are part of the connection.
- Confirm the coating. The fastener must be listed for that treated lumber.
- Confirm flashing and cladding clearance. Keep the connection as dry as the assembly allows.
The comparison table narrows the coating classes; the exact product's treated-lumber statement makes the final call. Treat a coating class as a compatibility rating and confirm the service expectation in the manufacturer's statement, the same habit behind the Utah Deck Supply screw comparison for exterior screws.
The coating protects the ledger only when the listing names that lumber and the detail sheds water.
Spacing Schedules and Edge Distances by Span
Diameter alone will not tell you how many fasteners to buy. The approved pattern does: staggered placement, clearances at the ends and edges, then an on-center spacing that tightens as the joist span grows. A ledger connection works like a row of clamps. Longer joists deliver more load to each clamp, so the clamps must sit closer together.
Source for both columns: the prescriptive lag-screw schedule and the bolt schedule in the Simpson Strong-Tie IRC-based deck code document, which also requires staggered fasteners, placement 2 to 5 inches from ledger ends, and at least 2 inches from the ledger's top or bottom edges.
| Joist span | 1/2-inch lag screws (on center) | 1/2-inch bolts (on center) |
|---|---|---|
| Up to 6 ft | 30 in | 36 in |
| Over 6 to 8 ft | 23 in | 36 in |
| 16 to 18 ft | 10 in | 19 in |
Read each number as a maximum spacing for that row. A short span can accept a wide pattern, while the 16- to 18-foot row drops lag spacing to 10 inches because each fastener is carrying a larger tributary load.
Use the Adopted Edition
IRC editions and local amendments differ. Utah builders should confirm the adopted edition and enforced snow-load values with the local building department before using any number. A structural screw from FastenMaster or Simpson Strong-Tie uses that product's evaluated installation table. Lag spacing shouldn't be copied onto a screw pattern, and screw spacing shouldn't be transferred to lags.
Drilling Sequence and Tools for Each Fastener
Correct holes explain much of the practical difference in structural screws vs lag bolts for deck ledgers. The Simpson Strong-Tie deck ledger guidance specifies a 1/2-inch-diameter clearance hole through the ledger and a 5/16-inch-diameter pilot hole into the band or rim joist for a 1/2-inch lag screw.
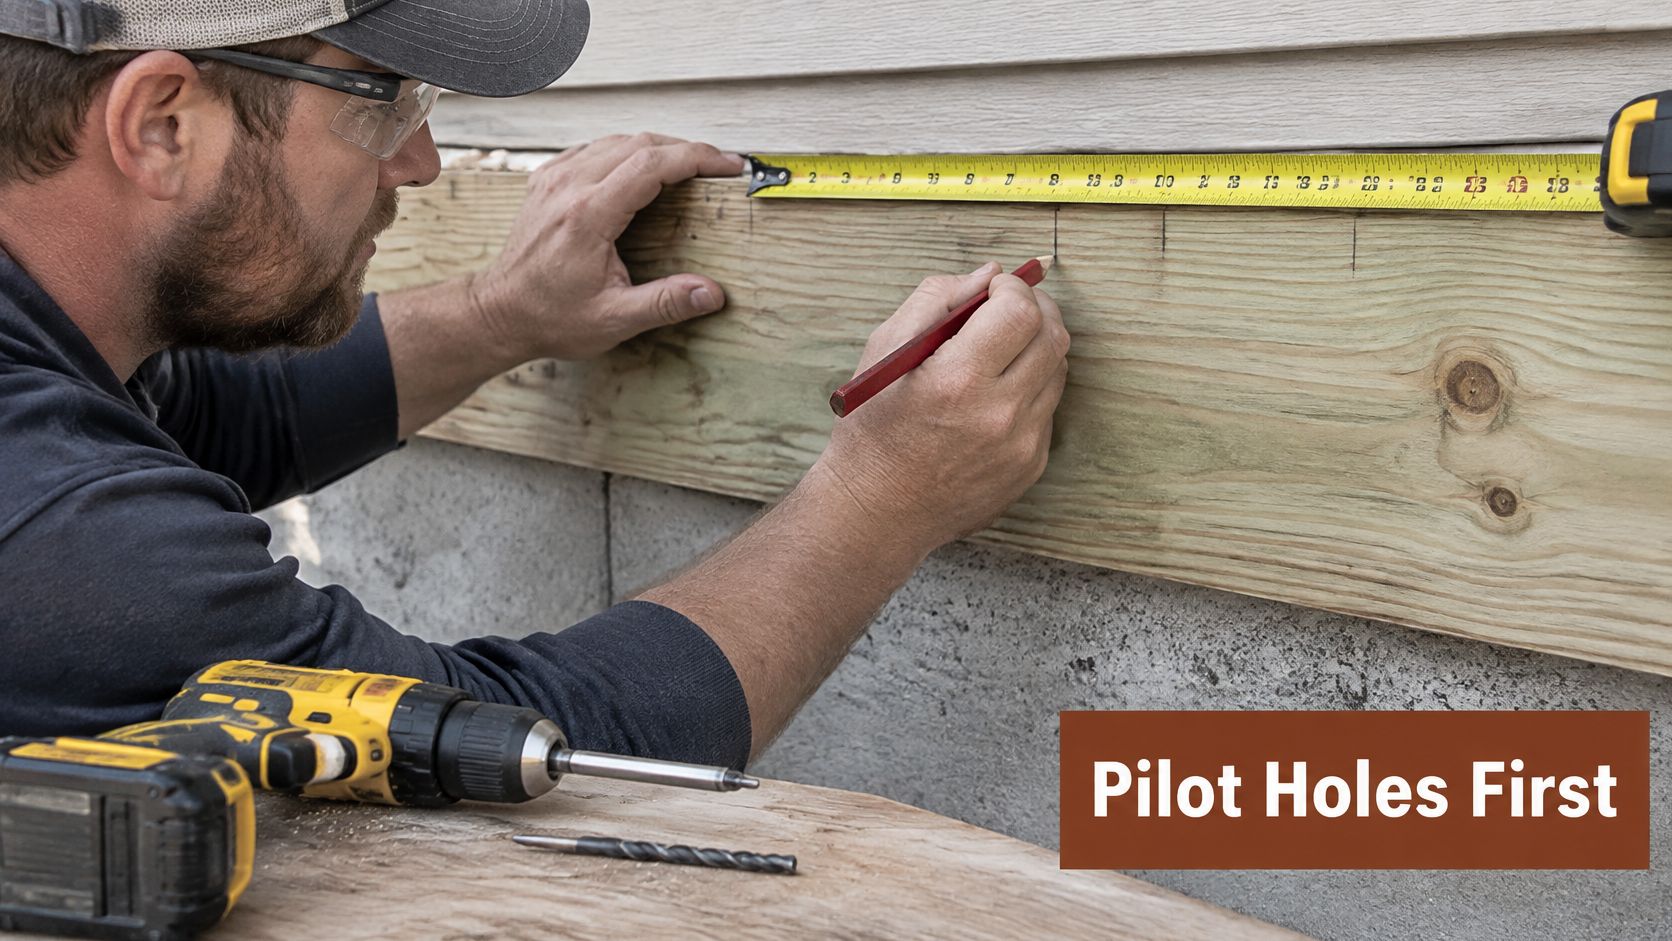
- Mark the staggered pattern. Confirm edge and end clearances before drilling.
- Drill the ledger clearance hole. The 1/2-inch hole prevents the ledger from resisting the lag's clamping action.
- Drill the rim pilot hole. The 5/16-inch hole lets threads engage supporting wood. A 1/2-inch hole in the band removes too much wood around those threads.
- Seat the washer and drive the lag. The tip must extend beyond the inside face of the band joist.
- Stop at snug. Crushing wood under the washer signals overtightening.
Through-bolts require a precisely sized hole through ledger, sheathing and rim, plus interior washer and nut access. Structural screws avoid the interior nut and often reduce predrilling, but full penetration, listed clearances and controlled driving still apply. Useful tools include a drill with sized bits, socket wrench or impact driver, depth check, straightedge and the product's driver bit.
Which Ledger Fastener Fits Which Build
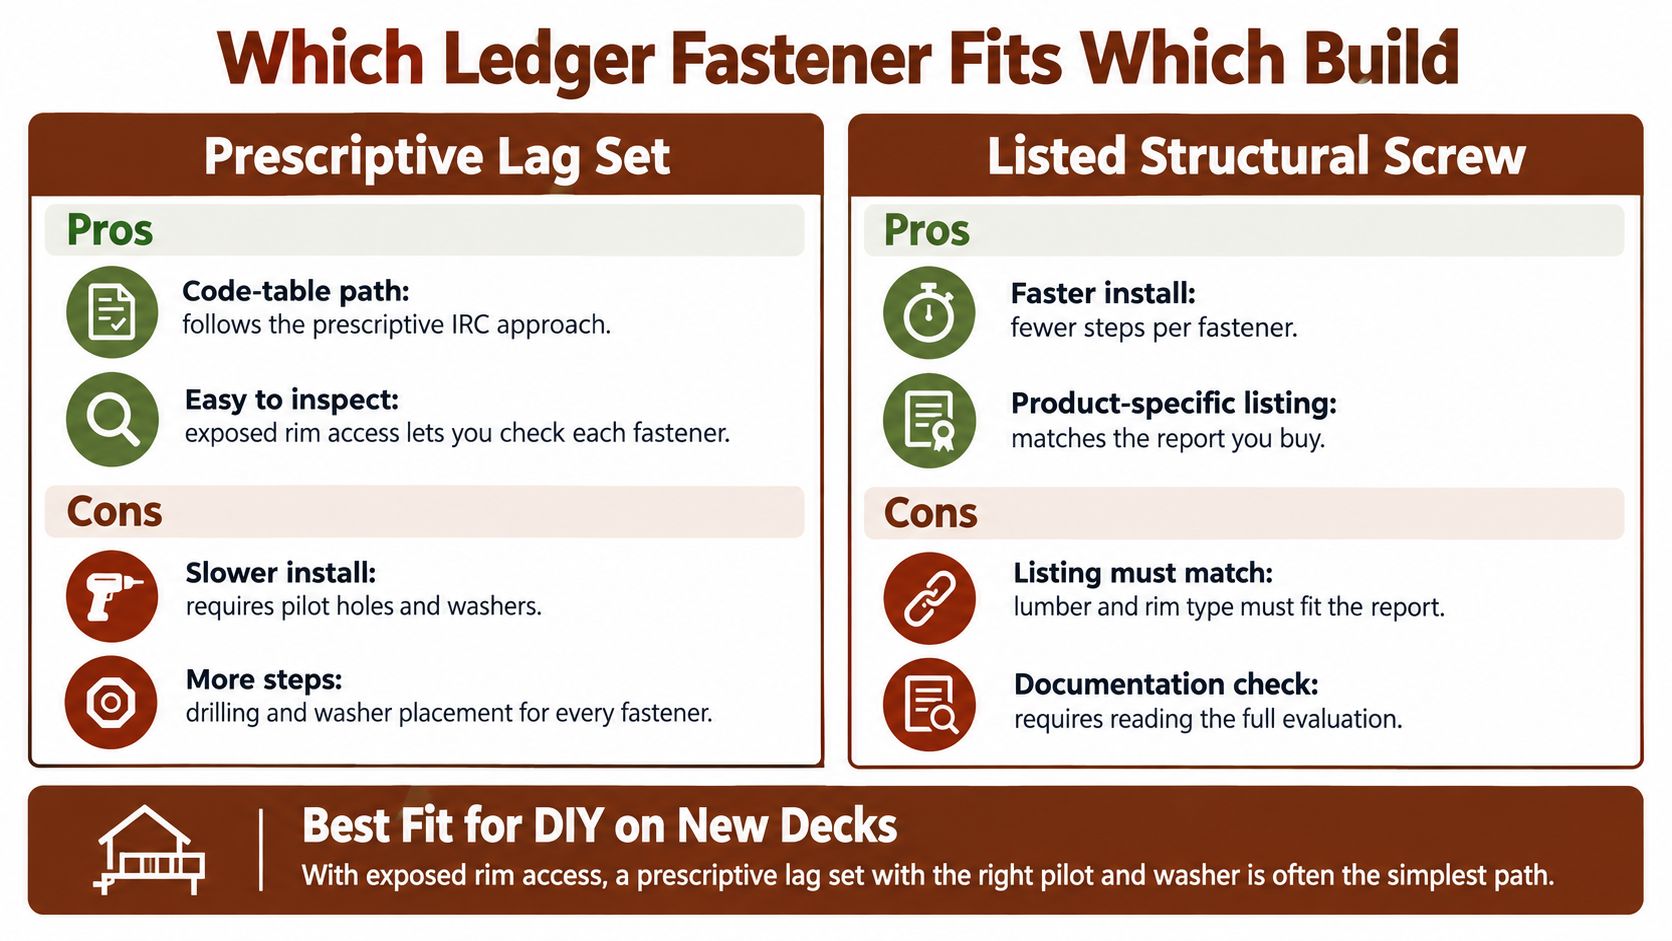
No single winner fits every house. Access and documentation usually make the decision clearer than nominal strength.
Common Situations
- New deck with exposed rim access. A prescriptive lag set often offers the simplest route because spacing, washers and pilot holes follow a printed code schedule.
- Professional crew repeating one connection. A listed structural screw can reduce drilling and interior work when crews follow one product pattern and keep its evaluation available for inspection.
- Remodel with finished interior walls. Through-bolts provide direct clamping, but interior access and patching add work. A listed screw may suit the access limits if its table covers the assembly.
- Tight deck over a finished basement. Rim access may decide the choice before speed or fastener count enters the discussion.
Homeowners planning a custom outdoor deck benefit from settling that access question during design rather than after materials arrive. Utah Deck Supply supplies ledger screws for decks and related hardware as a materials supplier and showroom, not as the installer. The homeowner or contractor remains responsible for installation and inspection.
Ledger Failure Modes and How to Fix Them
The most serious error is substitution by appearance. A structural screw and a 1/2-inch lag bolt may share length and diameter, yet each is approved under a different schedule: capacity and spacing apply only when the screw, wood members, pattern and edge distances match the evaluated system. Matching a diameter is like matching a plug shape; the fit says nothing about the rating.
The Simpson Strong-Tie connector catalog lists one structural-screw system that requires at least 6 inches of end distance, 1 7/16 inches of edge distance and 8 inches between fasteners in a row, while a second evaluated system sets different minimums by loading direction. Each product's end and edge distances must be checked separately before the first hole is drilled.
| Symptom | Likely cause | Fix |
|---|---|---|
| Ledger pulls or rocks | Too few fasteners, wrong pattern, or substitution without evaluation | Recheck count and spacing against the listed schedule, then confirm with the inspector |
| Rim splits or cracks | Pilot hole missing, too small, or drilled too large in the band | Replace the connection and re-drill each hole to the pilot size in the fastener's drilling sequence |
| Washer dented or fastener spun out | Overdriving or driver set too high | Remove the fastener, replace stripped hardware and re-drive to the seating depth in the drilling sequence |
| Gap between ledger and rim | Ledger not flush, shims left in place | Correct the ledger before fastening so fasteners do not pull it tight to a gap |
| Ledger fastened only to siding | Wrong substrate | Relocate the connection to an eligible rim or band joist |
| Water staining at the ledger | Flashing missing or wrong | Install the flashing plan before the ledger goes up |
Work should stop when a connection looks wrong. A ledger that rocks under hand pressure, or a rim showing fresh splits around the fasteners, is already failing before the deck carries any load. The inspector and manufacturer can confirm whether correction, replacement or engineering review is required before loading the deck.
Confirm the Ledger Plan Before You Buy
Ask the supplier for the evaluation report number before any fastener goes into a cart. That one number ties the screw or lag, the ledger, the rim and the spacing pattern to an evaluated assembly, and it gives the inspector something concrete to check. General background such as the ShamFix guide to decking costs helps with early budgeting for the wider project. The ledger decision itself rests on local code and product documents.
| Checkpoint | What to confirm |
|---|---|
| Fastener listing | Exact code provision or evaluation report number for the chosen fastener |
| Installation table | Manufacturer's spacing, edge distance and pilot-hole values for that listing |
| Local IRC edition | The code edition the local building department enforces |
| Snow-load values | The design loads the local ledger schedule is built around |
| Inspector confirmation | Pattern and paperwork accepted before ordering |
Documents and Decision Triggers
Each document answers a different question. The evaluation report or code provision states which fastener, substrate and pattern the listing covers. The manufacturer's installation table turns that listing into hole sizes and spacing. The local IRC edition and snow-load values tell the builder which version of those tables applies. The Utah Deck Supply hardware guide helps organize the wider materials list around those confirmed items.
Some plans go beyond what a listing covers. A structural engineer should review non-standard geometry, heavy hot tubs, stone or brick veneer, multi-level ledgers and proposed substitutions. If the listing doesn't name the ledger species or rim, the prescriptive lag route or another listed product should be selected. If clearances can't fit, the ledger plan needs adjustment before purchase.
For product help, homeowners and contractors can request a deck materials quote, call 385-993-5492, or visit the West Jordan showroom serving Salt Lake City, South Jordan, Sandy, Draper, Herriman, Lehi, Ogden, Provo and the wider Wasatch Front.
Utah homeowners and contractors can compare ledger screws, lags, washers, flashing and framing hardware with staff help before committing to a fastener schedule. Product selection starts with the confirmed listing, rim assembly and local inspection requirements. Visit Utah Deck Supply to plan the materials list and take the next step toward a code-checked deck build.