
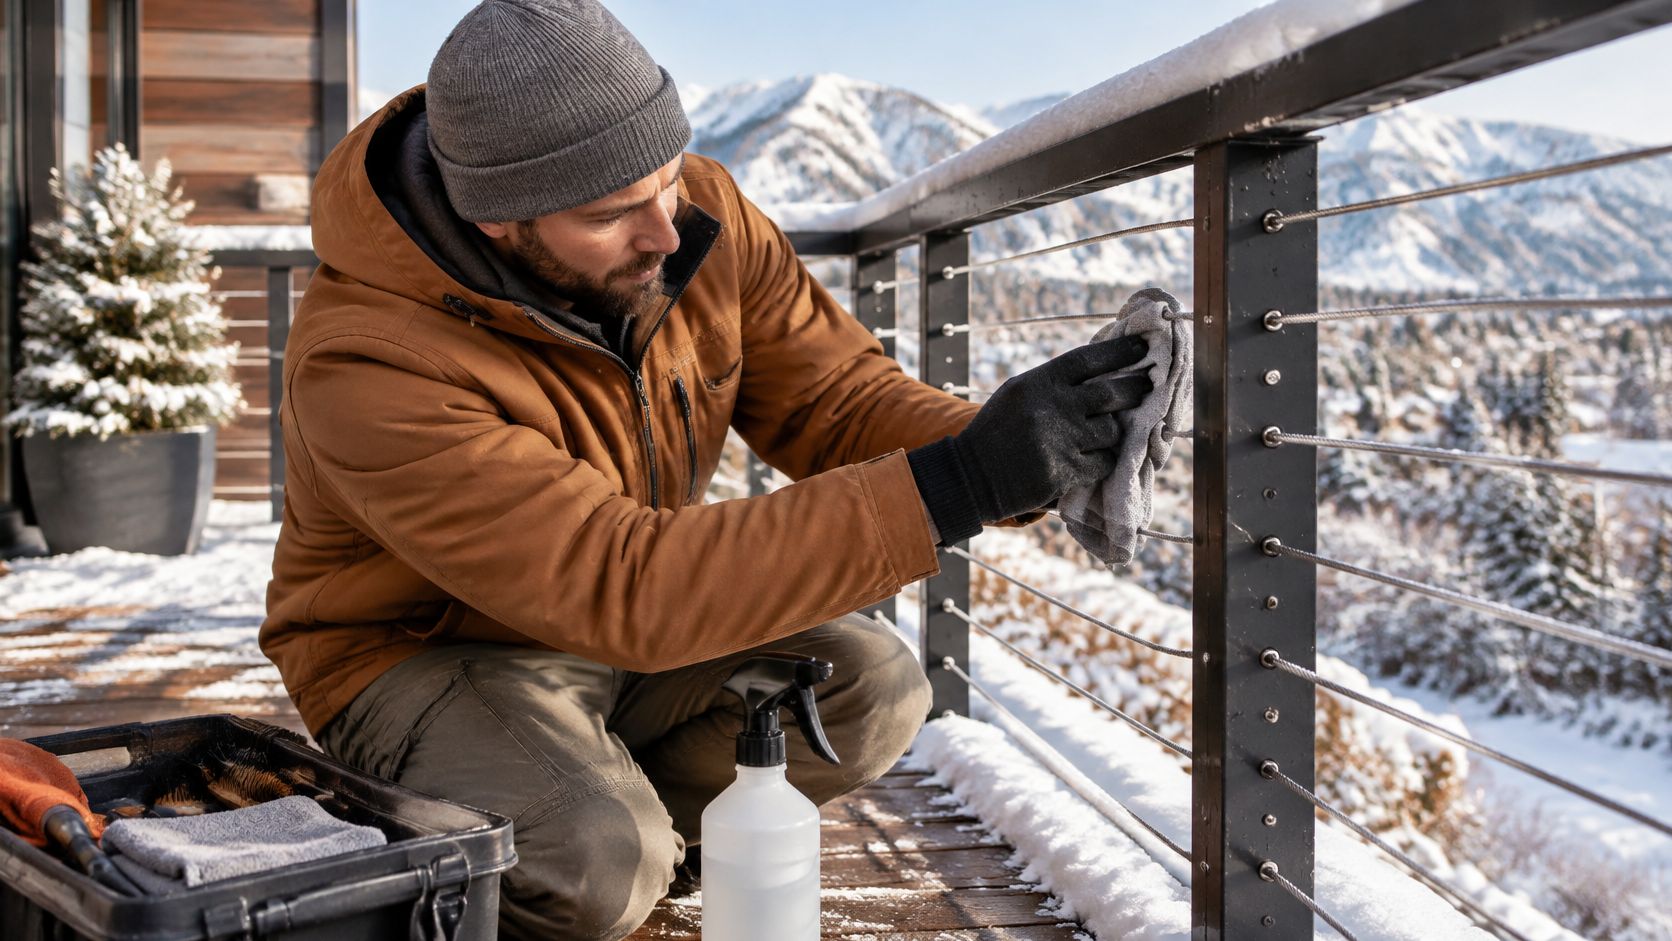
November on the Wasatch Front has a way of arriving faster than the deck projects planned in July. One week the cables are warm to the touch, the next there's a crust of ice on the top rail and a drift packed against the north-facing posts. Winterizing cable railing comes down to three habits: rinse and dry the cables and terminals before the first persistent freeze, brush snow off after each major storm while checking for sag and loose fittings, and run a full inspection in spring once the meltwater stops running.
Most of that work is looking, not fixing. The hardware doesn't need to be babied. It needs water kept away from it, salt rinsed off it, and tension checked against the right chart instead of a remembered number. The rest of the job is knowing which problems stay in the owner's hands and which go straight to the manufacturer or the installer who set the posts.
Winterization Calendar for Cable and Coated Posts
Utah gives this schedule a long runway. A NOAA climate record covering 59 years reports average annual snowfall of 58.1 inches for Salt Lake City, and the 1991–2020 monthly normals for Salt Lake City International Airport show 12.7 inches in January, 10.7 inches in February and 5.9 inches in March. A railing in that climate faces months of accumulated snow, repeated wetting and meltwater, not a handful of isolated storms.
That's why the calendar below splits cables from coated posts. They fail in different ways. Cables and terminals collect moisture, salt and tension changes. Posts and bases collect water at the penetration and coating damage that lets corrosion start.
| Timing | Cable system | Coated posts and bases | Check before moving on |
|---|---|---|---|
| Before the first persistent freeze | Rinse and dry cables and terminals; look for corrosion and loose fittings | Clear leaves and debris; rinse posts; confirm drainage paths are open | Water drains away from every post base |
| After each major snowfall | Brush snow off with a soft broom; look for sag, bent cable or moved fittings | Remove snow piles from around bases; look for loosened fasteners | No snow pile sits against a post base |
| After road salt or thaw events | Rinse with fresh water when temperatures allow; dry terminals | Rinse posts, brackets and screws; look for trapped slush | Salt residue removed from terminals and brackets |
| Spring, after the snow season | Full inspection of terminals and turnbuckles; tension check against the manufacturer chart | Check coating for chips, bubbling or rust staining; touch up only with the approved product | Any damage logged for the escalation checklist |
Read it as a planning frame, not a specification. It tells you when to put eyes and hands on the system. It doesn't tell you which cleaner, which touch-up product or which tension setting is correct for your railing, because those answers live in one document.
Manual wins: the railing manufacturer's maintenance instructions and approved product list override any interval or product in this table.
Add the four rows to a phone reminder or a household maintenance list, and flag the spring row as the detailed inspection rather than a quick look. Owners who are still deciding on a system rather than maintaining one can review how stainless steel cable railing for Utah is built, since the fittings that need the most winter attention are usually the ones chosen at purchase.
Inspection and Drainage Checks Before and After Snow
Inspect with the railing dry and in daylight, and work from the top of the run down to the base, the same path water and salt travel. The sequence below stays the same whether you're doing the autumn pass or the one after a thaw.
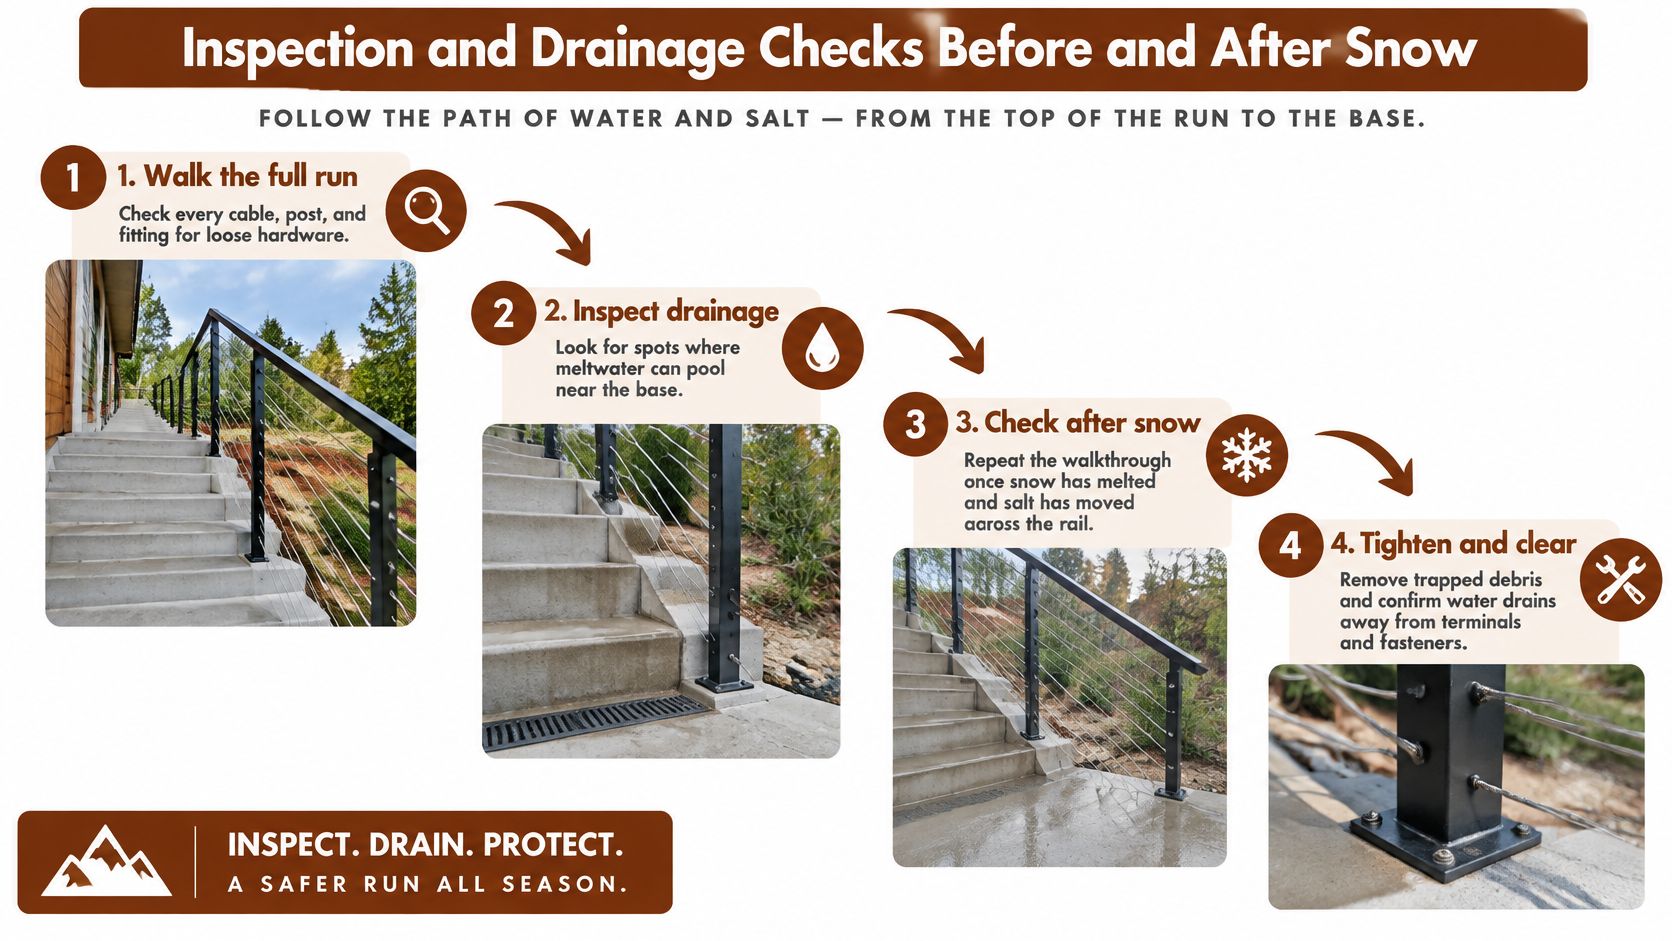
- Walk the full run. Check every cable end fitting, swage or threaded terminal for discoloration, frayed strands or kinks. A cable that looks fine at eye level can have a flattened section where it enters the post.
- Check each turnbuckle and terminal for thread movement, a gap between hardware and post, or hardware that has shifted since the last look.
- Inspect every post connection and base for loose fasteners, trapped slush and coating damage. Most winter problems start in those spots.
- Sight along the cable line for sag or uneven height, standing at one end and looking down the run rather than at a single bay.
- Spend extra time on stair sections and shaded or north-facing posts, where snow lingers after the rest of the deck has cleared.
- Log each finding with the date and location, so spring comparisons mean something. The Minnesota LTAP corrosion guidance recommends regular inspection of cables for oxidation, corrosion, loose connectors and broken wires, and freeze-thaw movement can loosen fittings that ice had hidden all winter.
Drainage and snow clearing
Trapped water is the mechanism behind most of this damage. The NIH facilities technical bulletin on the freeze-thaw cycle explains that freeze-thaw damage occurs when water fills voids in rigid, porous materials, freezes and expands, and it names the cycle as a major cause of damage in construction materials in most climates. The bulletin's remedy is water control through drainage, flashing, drip edges and detailing, which for a railing means keeping water from sitting around penetrations, post bases, fastener holes and the seam where metal hardware meets wood, composite, concrete or masonry.
- Never seal a drainage opening. Those gaps exist to release water, and plugging one moves the problem sideways into the deck.
- Find the ponds that refreeze. Any spot where meltwater pools at a base and turns to ice overnight needs correction, not another layer of snow on top.
- Pile snow away from bases, not against them. A drift against a post base keeps that connection wet for weeks.
- Brush loose snow with a soft tool. Never chop bonded ice with a metal edge, and never strike or lever against cables or infill.
Say a north-facing post base shows a white residue line and one fitting sits a hair higher than its neighbors. Log it with the date, photograph it and send it to the installer or manufacturer. Don't tighten it on the spot to see if that fixes it. Stop and escalate immediately if you find a broken strand, a post that moves, or visible sag that wasn't there before.
Mild Salt Removal and Finish Care for Cable and Posts
Salt is the part of winter that keeps working after the storm has passed. Chloride residue trapped around terminals, tensioners and fasteners is what produces the localized staining that owners mistake for a failing railing. The cleaning routine that removes it is deliberately mild, and the order matters as much as the products.
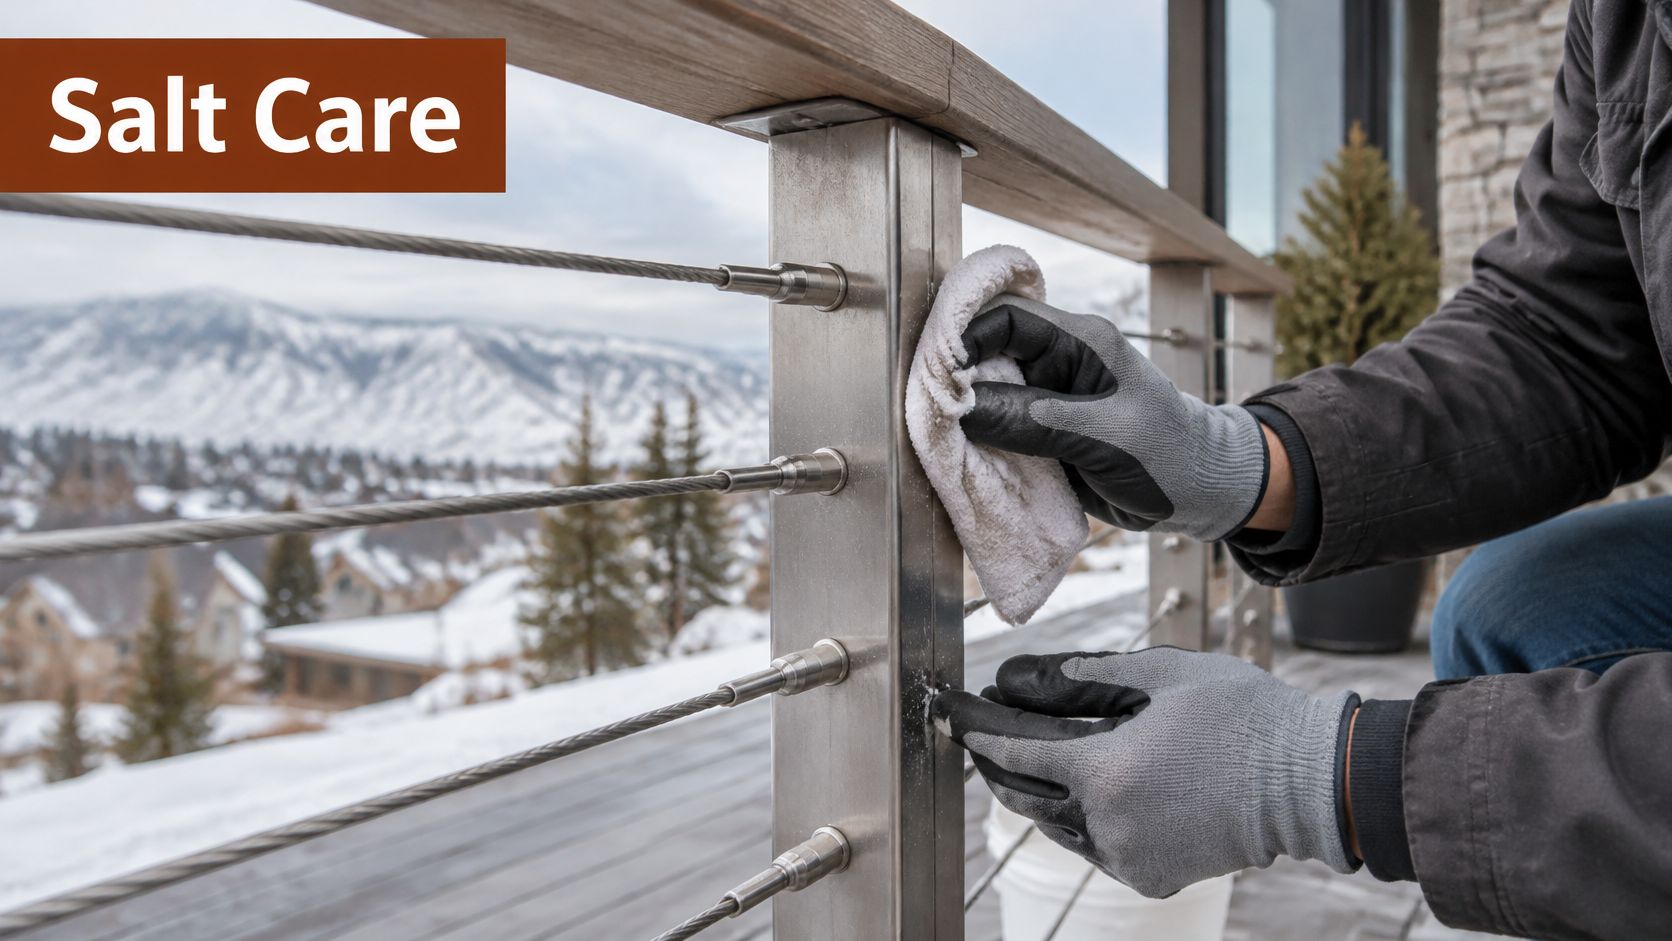
- Brush first. Lift leaves, grit and snow off with a soft broom or brush. A shovel edge catches cable and chips coating.
- Rinse with fresh water across cables, posts, terminals and post bases, ideally when temperatures are above freezing so the water runs rather than bonds.
- Wash with mild soap and a soft cloth or soft brush. Work around fittings rather than scrubbing at them.
- Rinse completely and dry with a lint-free towel. Terminals and post bases are the two spots most often skipped and the two that hold moisture longest.
Skip steel wool, carbon-steel brushes, bleach, chloride-based cleaners and abrasive pads. A carbon-steel brush leaves iron particles embedded in the stainless surface, and those particles rust first. Deicers that land on the deck below the rail matter too, and Utah Deck Supply's ice melt guide covers which products are safe around decking and hardware.
Finish care is a separate pass. Check coated posts for chips, bubbling and rust staining at the base and at fastener heads, and touch up only with the product the manufacturer names. Don't apply a lubricant, wax or sealer to cables or fittings on the assumption it will protect them, because an unapproved product can trap grit or interfere with the finish. Where the system mixes metals, such as stainless cables in coated steel posts or stainless fasteners through aluminum, follow the manufacturer's isolation details rather than improvising washers. Owners comparing how coated metal holds up through wet winters will find this porch railing guidance for Ottawa homeowners a useful plain-language reference on finish behavior and touch-up timing.
If a coating is cracked, bubbling, or exposing bare metal across an area larger than a chip, stop cleaning and move to the escalation checklist. Repeated washing won't fix a finish that has already failed.
System-Specific Tension Review by the Manufacturer Chart
Cable tension moves with temperature, so the correct setting comes from the railing manufacturer's temperature-based chart. It does not come from what felt right in July, and it does not come from a number borrowed from another system or another material.
The physics is worth understanding because it explains why a cable that seemed perfect in summer can feel like a drum in January. Texas Transportation Institute guidance on high-tension cable reports that a cable installed during peak summer heat at roughly 2,500 pounds can exceed 7,500 pounds in sub-freezing conditions, and notes that cable tension should be evaluated using the cable's actual temperature, because the cable itself can sit 30 to 50°F away from the surrounding air. That's highway barrier data, not a residential value. Treat it as the reason to check, never as a target.
No universal value: no residential tension number applies across systems. The chart for your railing is the only setting to work from.
The review itself is short.
- Record the condition the chart uses, whether that's cable temperature or another reference point.
- Check cable height and sag using the method the chart lists, not by feel.
- Adjust only inside the turnbuckle range the manual allows. That range exists because over-tensioning loads posts and fittings instead of solving sag.
- Stop if the chart can't be reached within that range and call the installer or manufacturer. That's a signal, not a chore.
After a heavy snow or ice event, inspect the locator components, turnbuckles and end fittings before touching anything. Ice loads can break or dislodge hardware and let cables sag, and adjusting tension on top of a damaged component hides the problem. The boundary is firm: no added posts, brackets or fasteners, no reshaping of components, no over-tightening to chase a sag, and no field structural modifications of any kind.
Escalation Checklist for Corrosion, Loose Fittings and Finish Damage
Match what you see to the first check, then to the person who should handle it. The distinction matters because some winter symptoms are cosmetic and some are the early stage of a structural problem.
| Symptom | First check | Escalate when |
|---|---|---|
| Rust-colored staining on a cable or terminal | Rinse, dry and look for pitting around the fitting | Pitting is present or the stain spreads after rinsing: contact the manufacturer or installer |
| Loose cable fitting or terminal | Note which direction it moved; do not tighten past the manual's setting | Any movement beyond the manual's range: call the installer |
| Cable sag after a storm or thaw | Check height and turnbuckle position against the manufacturer chart | Sag remains after the manual's steps: call the installer or manufacturer |
| Chipped or bubbling coating on a post | Photograph the area and clean gently with mild soap | Coating is spreading or bare metal shows: follow manufacturer finish guidance and warranty terms |
| Loose post base or moving post | Check base fasteners and drainage around the base | Any movement at all: stop, keep the area clear and call a qualified professional |
| Cracked or softened deck material near a post base | Note the location and size of the damage | Structural cracking or movement: call a qualified structural professional |
Salt accelerates all of this. The University of Minnesota winter-salt guidance states that salt speeds corrosion of steel reinforcement and metal components and identifies railings among the affected infrastructure. Where a system combines metals, the manufacturer's isolation details govern, so don't add a hardware-store washer and call it fixed. Commercial sites specifying heavier barriers than a deck rail can browse industrial guardrails to see how protective rail systems are documented, which is the same component-by-component thinking that applies at home.
The boundary is simple. Owners should not tighten fittings beyond the manual's setting, reshape components, add structural supports, or use mains-powered equipment on any part of the railing. If a repair does call for new fasteners, compare stainless and coated deck screws before mixing metals on the same post. A supplier can help identify the system and its approved replacement parts when you build a materials list, but warranty outcomes and repair decisions rest with the manufacturer and the installer of record.
Winter Cable Railing Questions Answered
Do I need to clear every snowfall from the cable infill?
No source sets a required clearing frequency. What matters is keeping water from sitting around posts and fittings and clearing snow without striking the cables, which is the approach the Minnesota LTAP guidance supports. Light clearing after big storms keeps loads reasonable.
Can I use a deicer on my railing?
Only one the railing manufacturer approves. University of Minnesota winter-salt guidance notes that salt speeds corrosion of metal components, which is why rinsing is part of the routine rather than an occasional deep clean.
Can I tighten a loose turnbuckle to fix sag?
Only within the range the manual allows. Over-tensioning isn't a fix, and a sag that remains after the manual's steps belongs with the installer or manufacturer.
Do snow and ice change cable tension?
Temperature changes tension, and heavy snow or ice loads can dislodge locator components. Check against the manufacturer chart after major storms, and inspect hardware before any adjustment.
Will my warranty cover winter damage?
Warranty terms come from the manufacturer and the installer. No article can promise an outcome, so ask the manufacturer before assuming coverage. Owners weighing a change of system can compare choosing railing for deck stairs against their current setup.
Set Your Post-Storm Routine and Next Step
The whole routine fits in three moments.
- Before the first persistent freeze: rinse, dry and inspect, with attention to terminals and post bases.
- After each major storm: brush snow off, check sag and fittings, and clear anything blocking drainage.
- Each spring: run the full inspection and check tension against the manufacturer chart.
The next step is paperwork, not hardware. Find your railing system's maintenance manual and its approved finish products before the first freeze, because those documents set the intervals, cleaners and parts that no general guide can. If the railing is still being chosen, cable railing systems are a good starting point for comparing fittings, infill and post options. Utah Deck Supply carries railing from Trex, TimberTech, Fortress, RDI, Cinch, and RailFX, and the West Jordan showroom is set up for owners and contractors working through those comparisons in person.
The calendar tells you when to look. The manufacturer tells you how far to go.
If you want help matching your existing system to its documentation and building a supply list for the season, request a deck materials quote.
Utah Deck Supply is a deck materials supplier and showroom in West Jordan, serving homeowners, DIY builders and contractors across Salt Lake County and the Wasatch Front. The railing lineup covers cable, aluminum, steel, composite and vinyl systems, along with the hardware, fasteners and post accessories that keep a winter maintenance routine workable. Visit Utah Deck Supply to compare railing options, check showroom hours, or start a materials list before the first hard freeze.